Quickstart
A quick overview of the AutoML workflow and how to get started
Overview
Hive's AutoML platform contains three main sections: Datasets, Models, and Deployments. To build your custom model, you'll need to move between these different sections to upload data, train a model, and deploy that model for use. On this page we'll walk through the general model-building process.
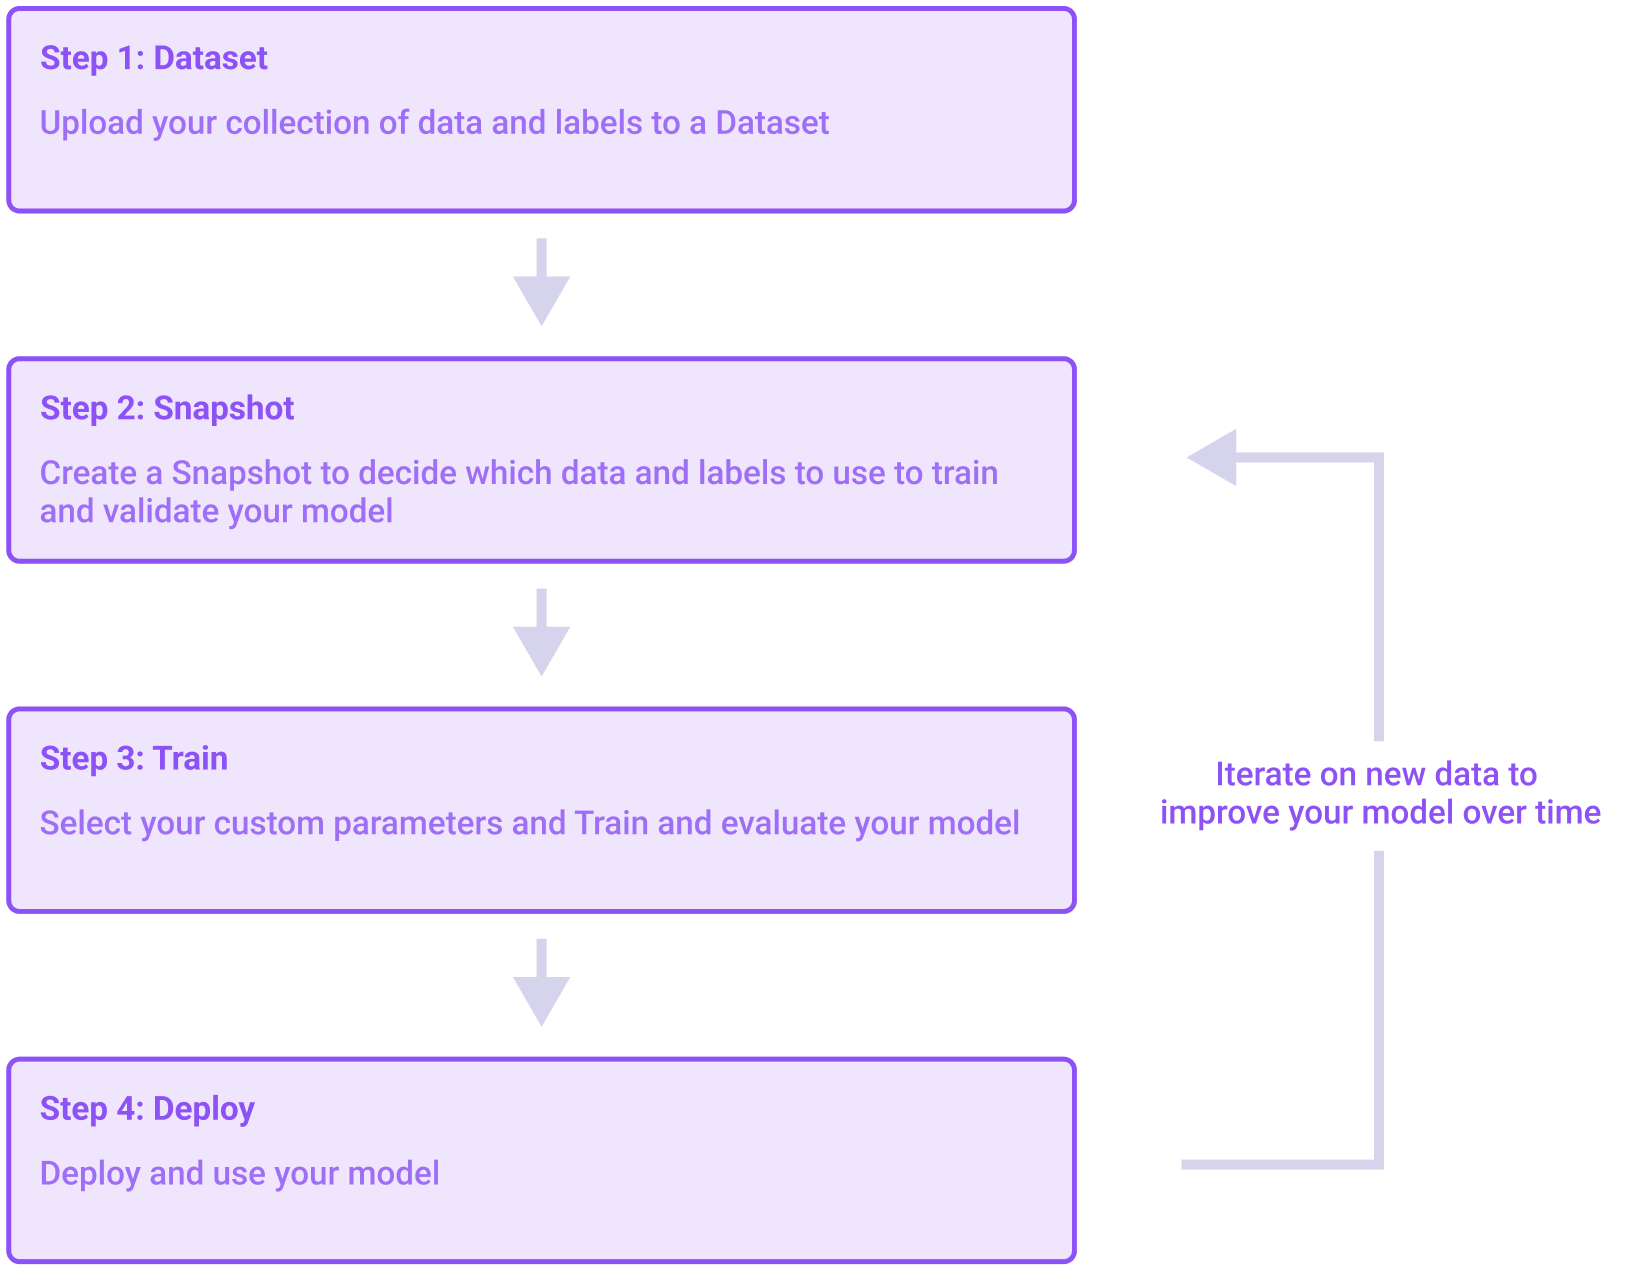
A visualization of the steps necessary to build a model
Step 1: Create a Dataset
First, you will need to create a Dataset. An AutoML dataset is an easily queryable and modifiable form of the information you wish to use to train your model. After creating a dataset you can add, update, or delete data from that dataset at any point.
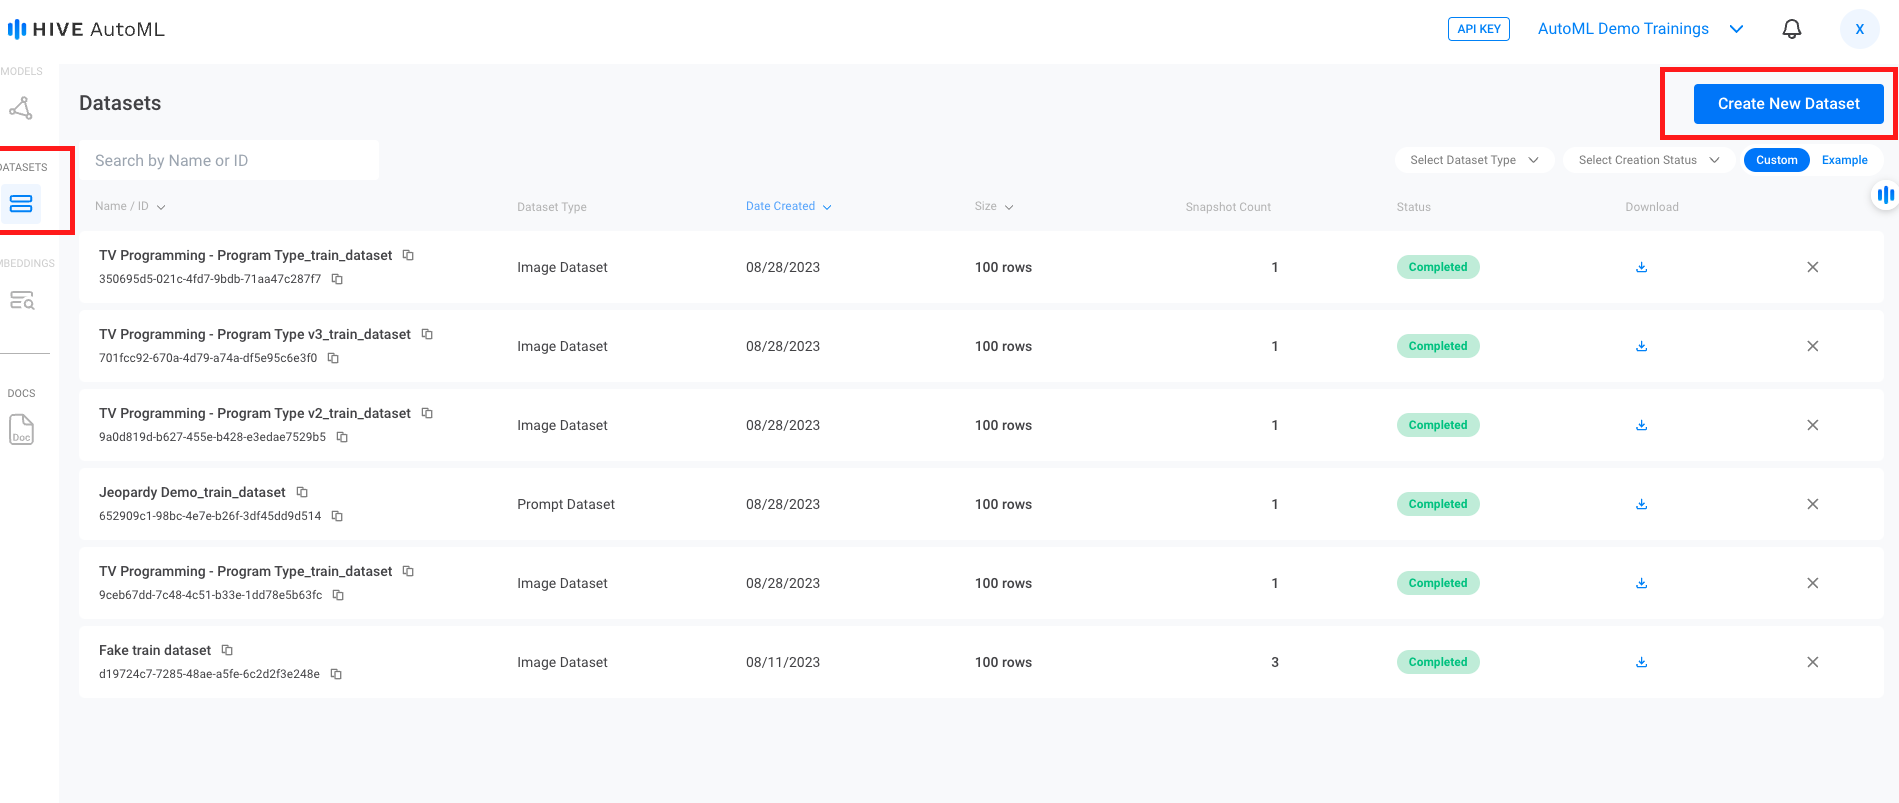
The Create New Dataset button sits at the top right of the Datasets page. The toggle to view Example datasets is directly below it.
Example Datasets
Don't worry if you don't have your own data! You can use the Example datasets to explore the model training process.
These example datasets can be found by selecting
Exampleon the top right of the Datasets page, below theCreate New Datasetbutton.
Step 2: Create a Snapshot
After creating a dataset, you'll then need to create a Snapshot . A snapshot exports and validates the current version of a dataset so it can be used to train a model. You can create multiple snapshots from a single dataset, and you can create multiple models from a single snapshot.
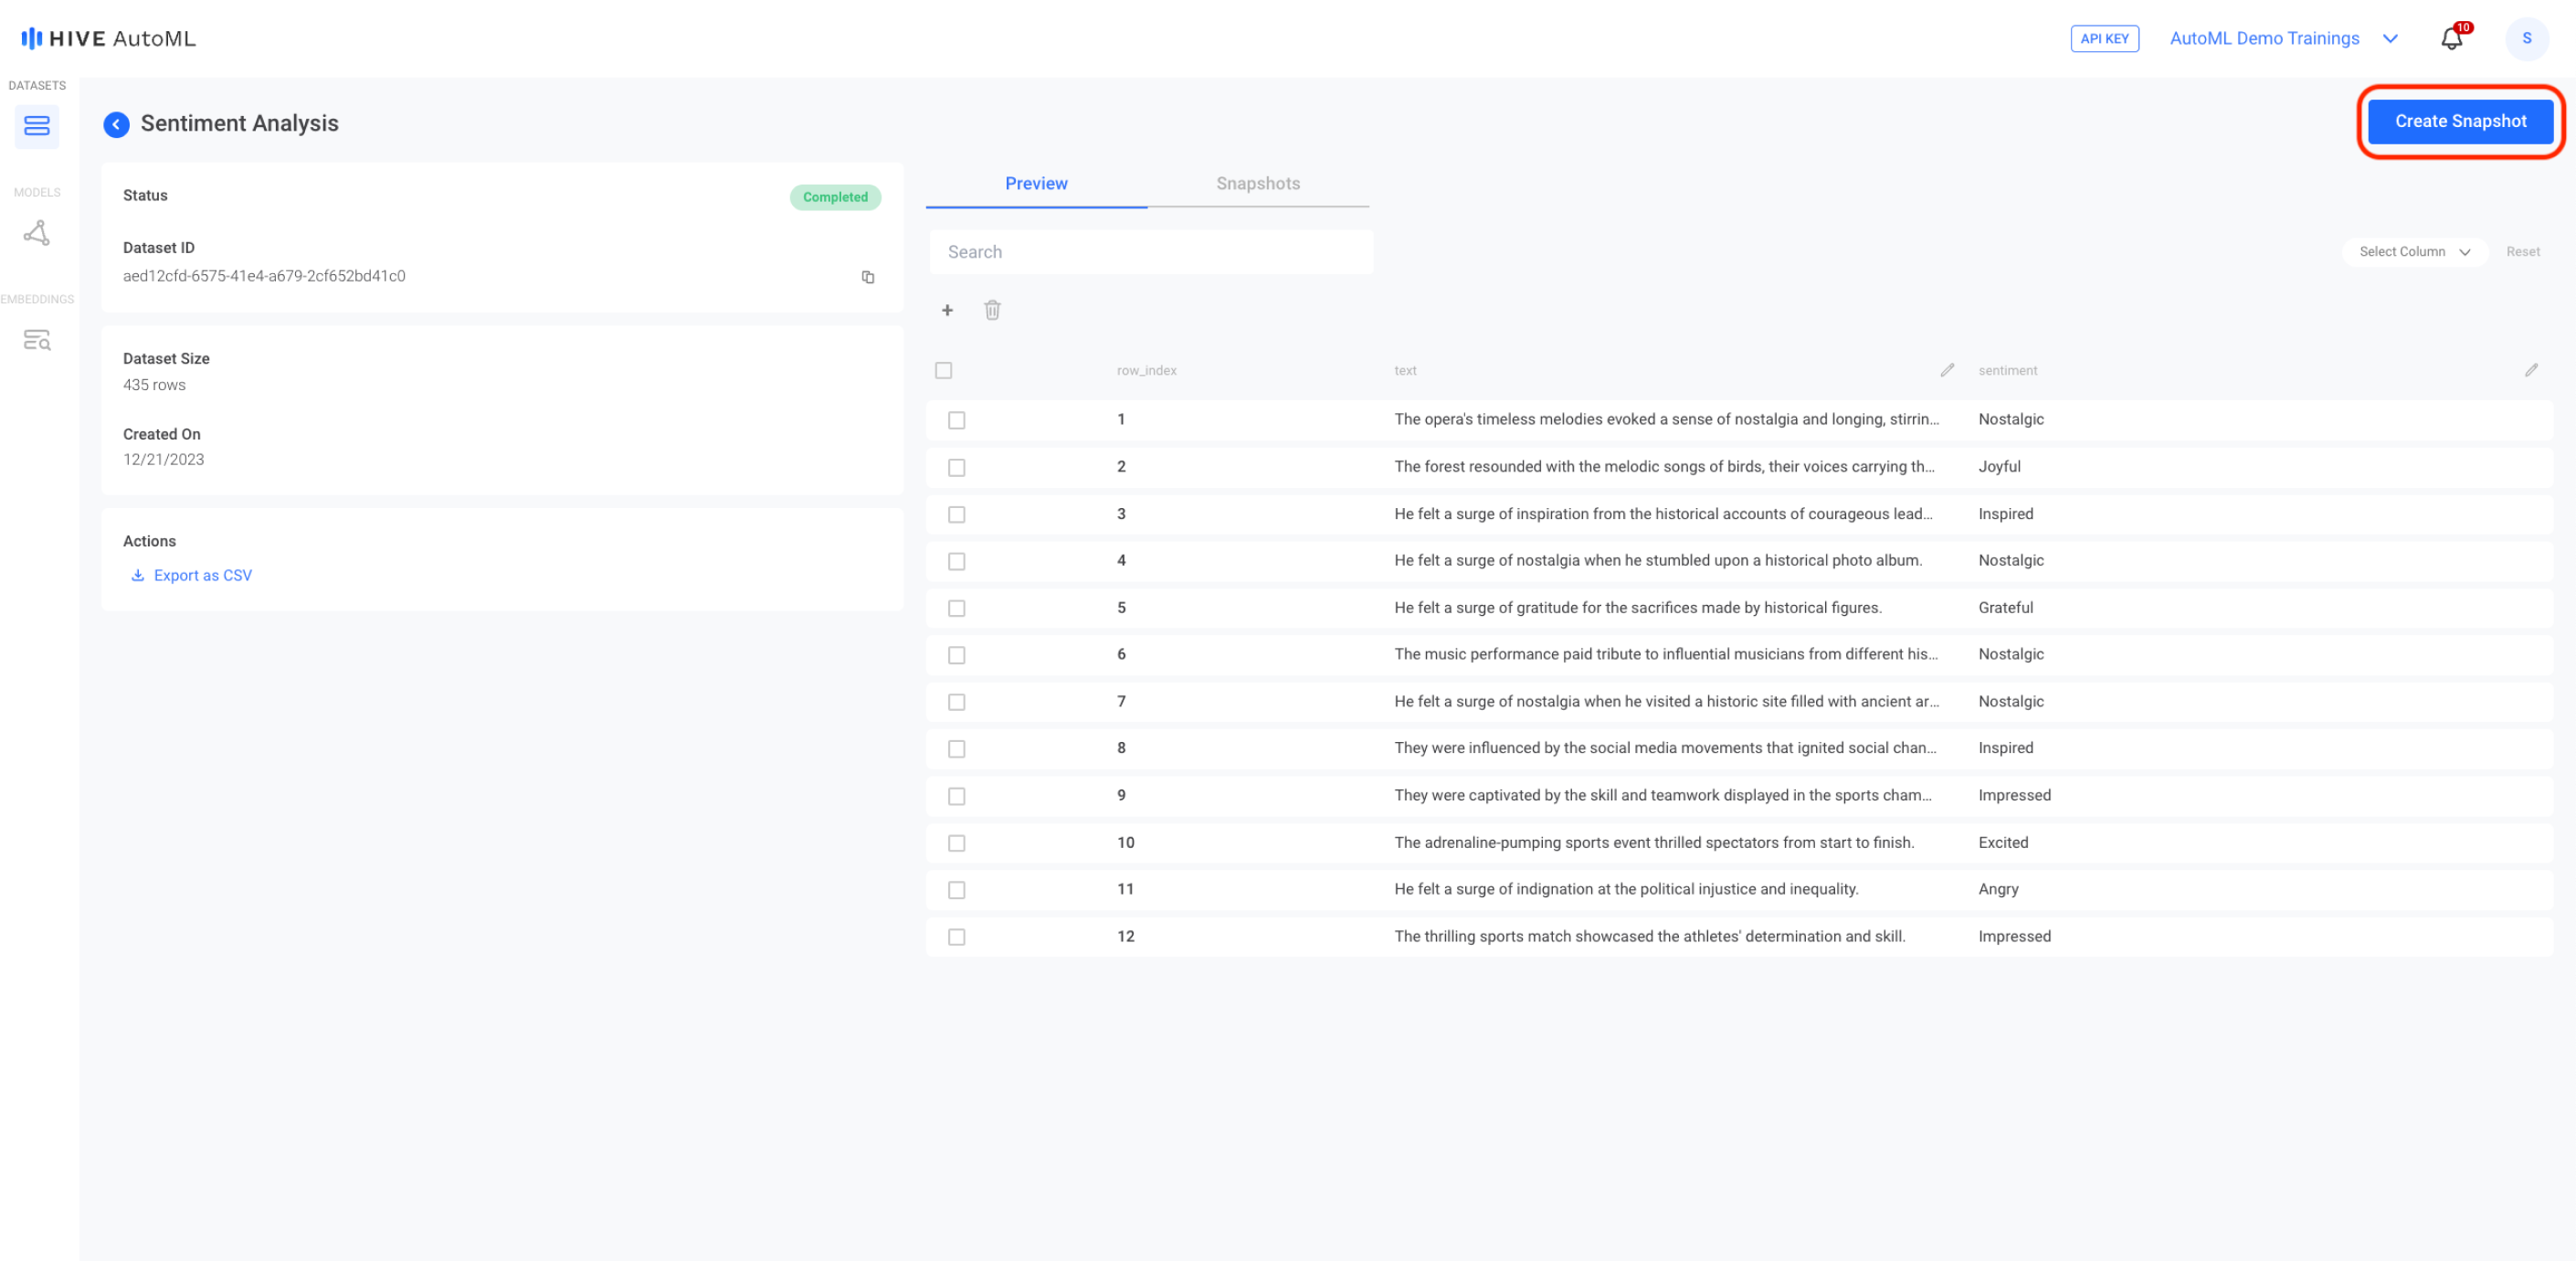
The dataset preview page for a text-based dataset. To create a snapshot, you can press the blue Create Snapshot button on the top right corner of the page.
Step 3: Create a Model
After you've created a snapshot of the dataset you want to use for model training, you can create a new Model. As you create the model, you'll be asked to select the snapshot you want to use as training data. You'll also be able to either split some of your training data off to use as test data or to select a separate snapshot to use instead. After your model training is complete, you can find performance metrics for your new model on that model's detail page. You can also submit free sample requests to the model on that page in order to test it.
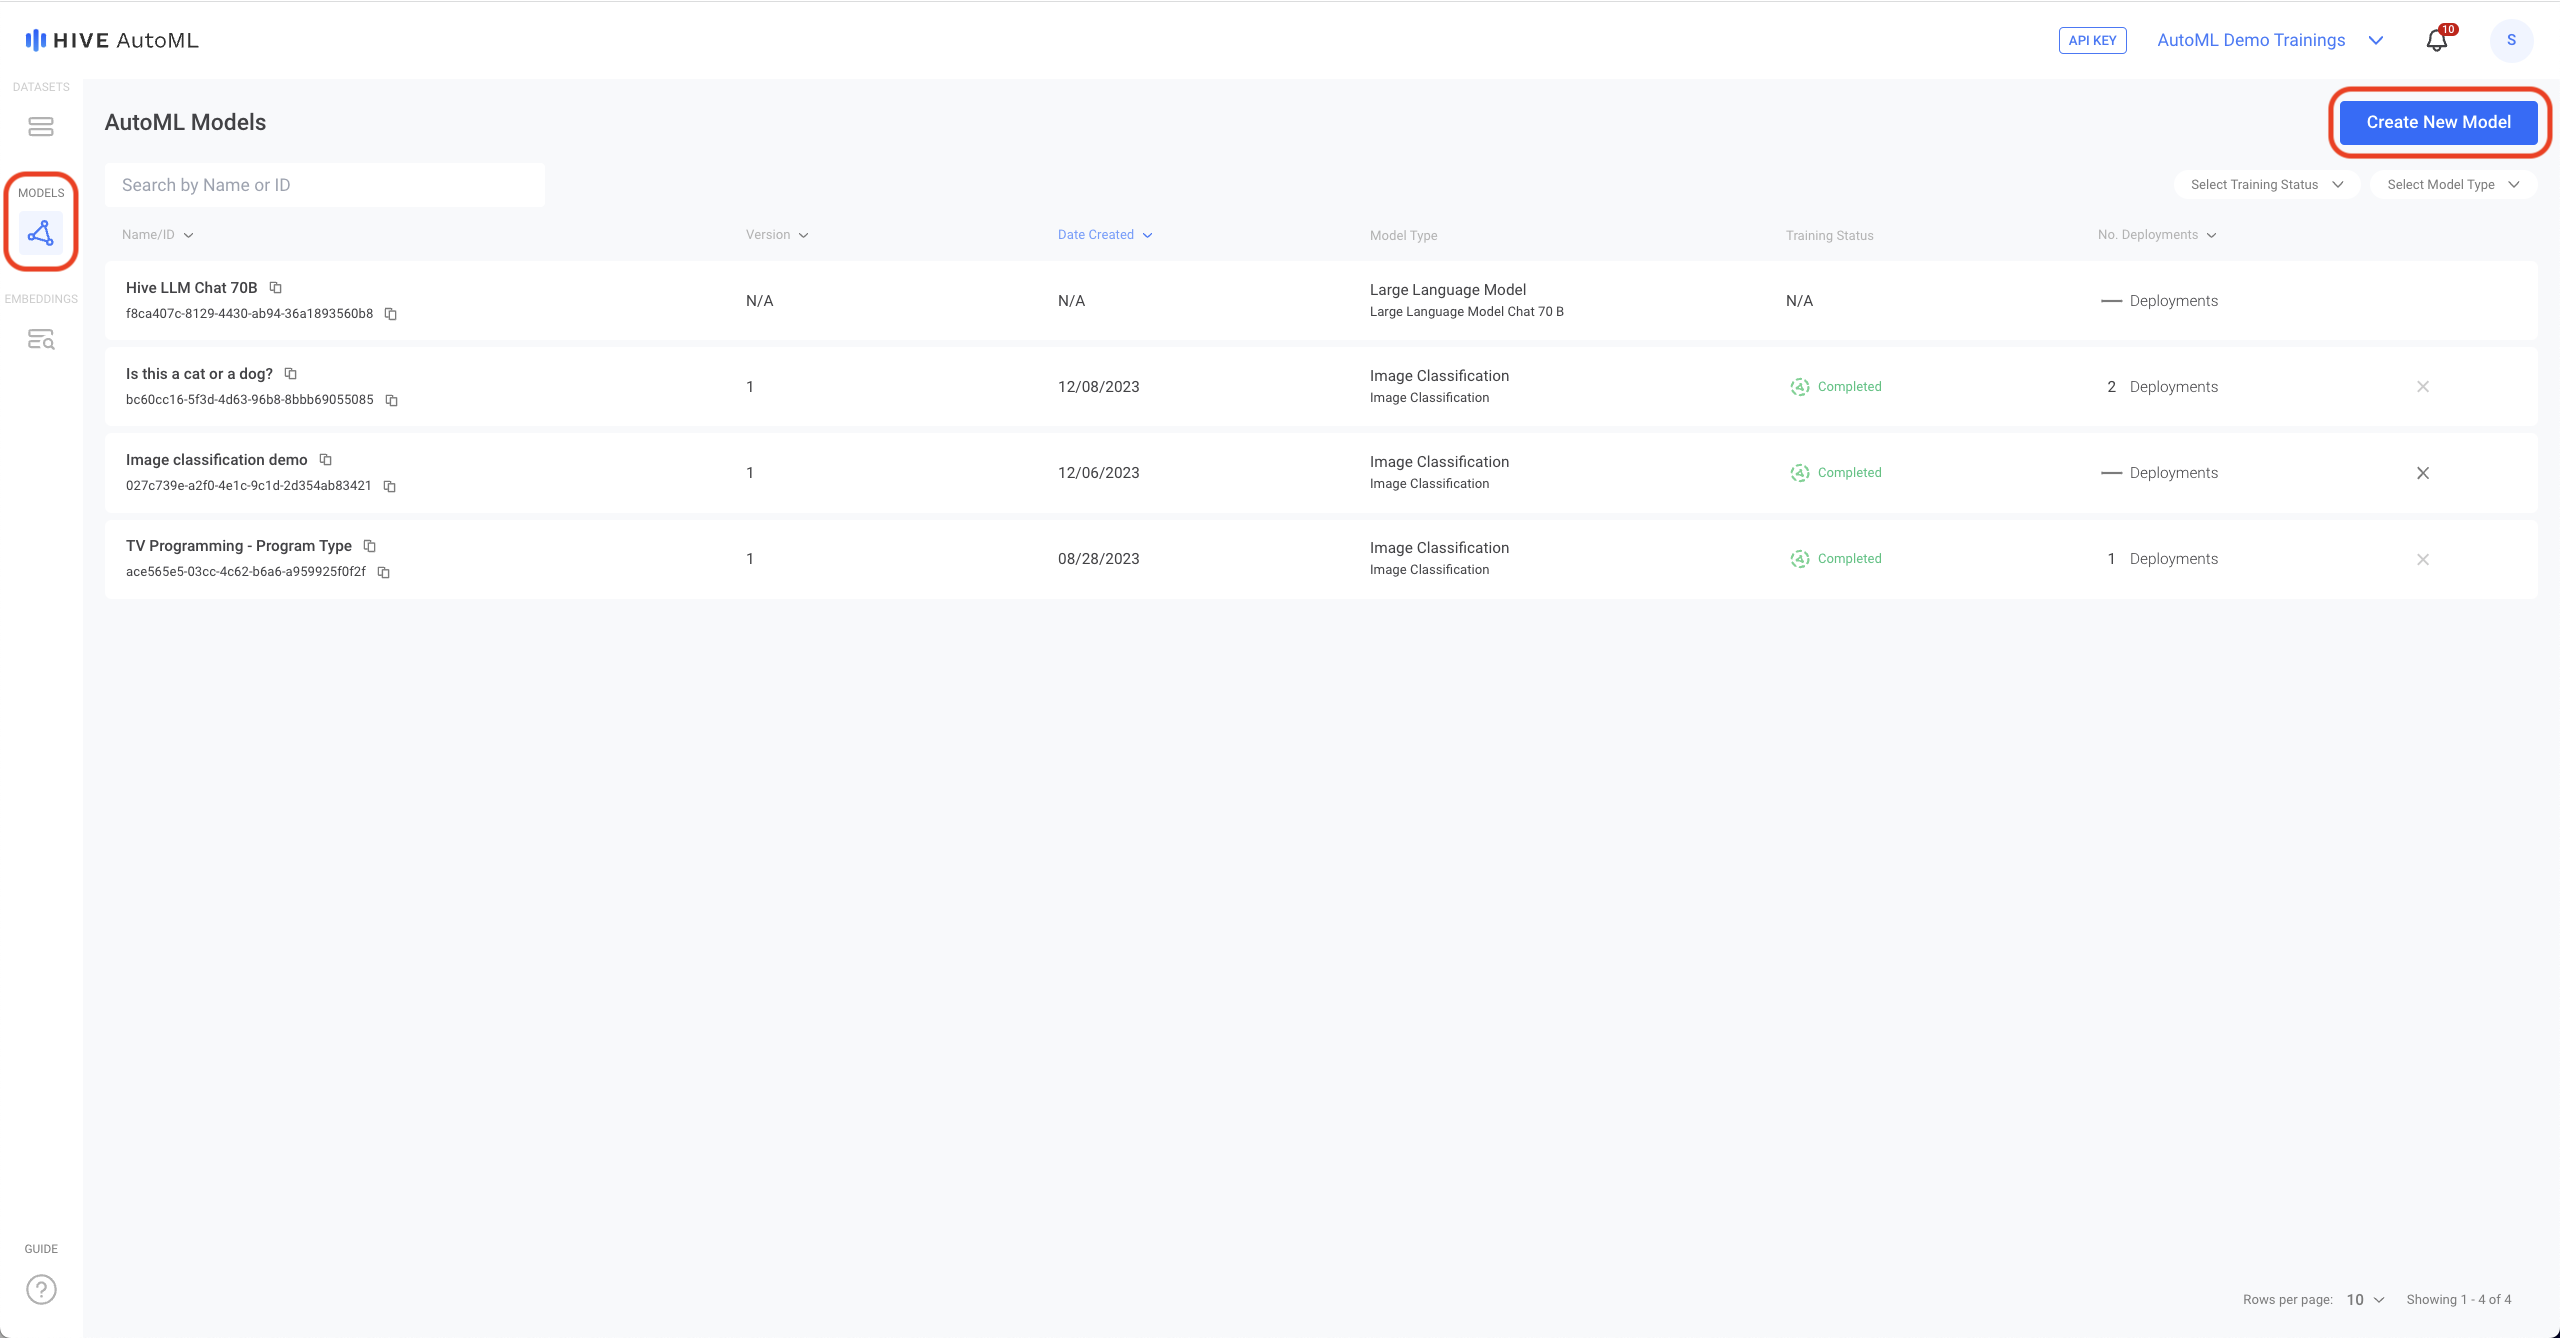
To train a new model, select the blue Create New Model button at the top right corner of the Models page.
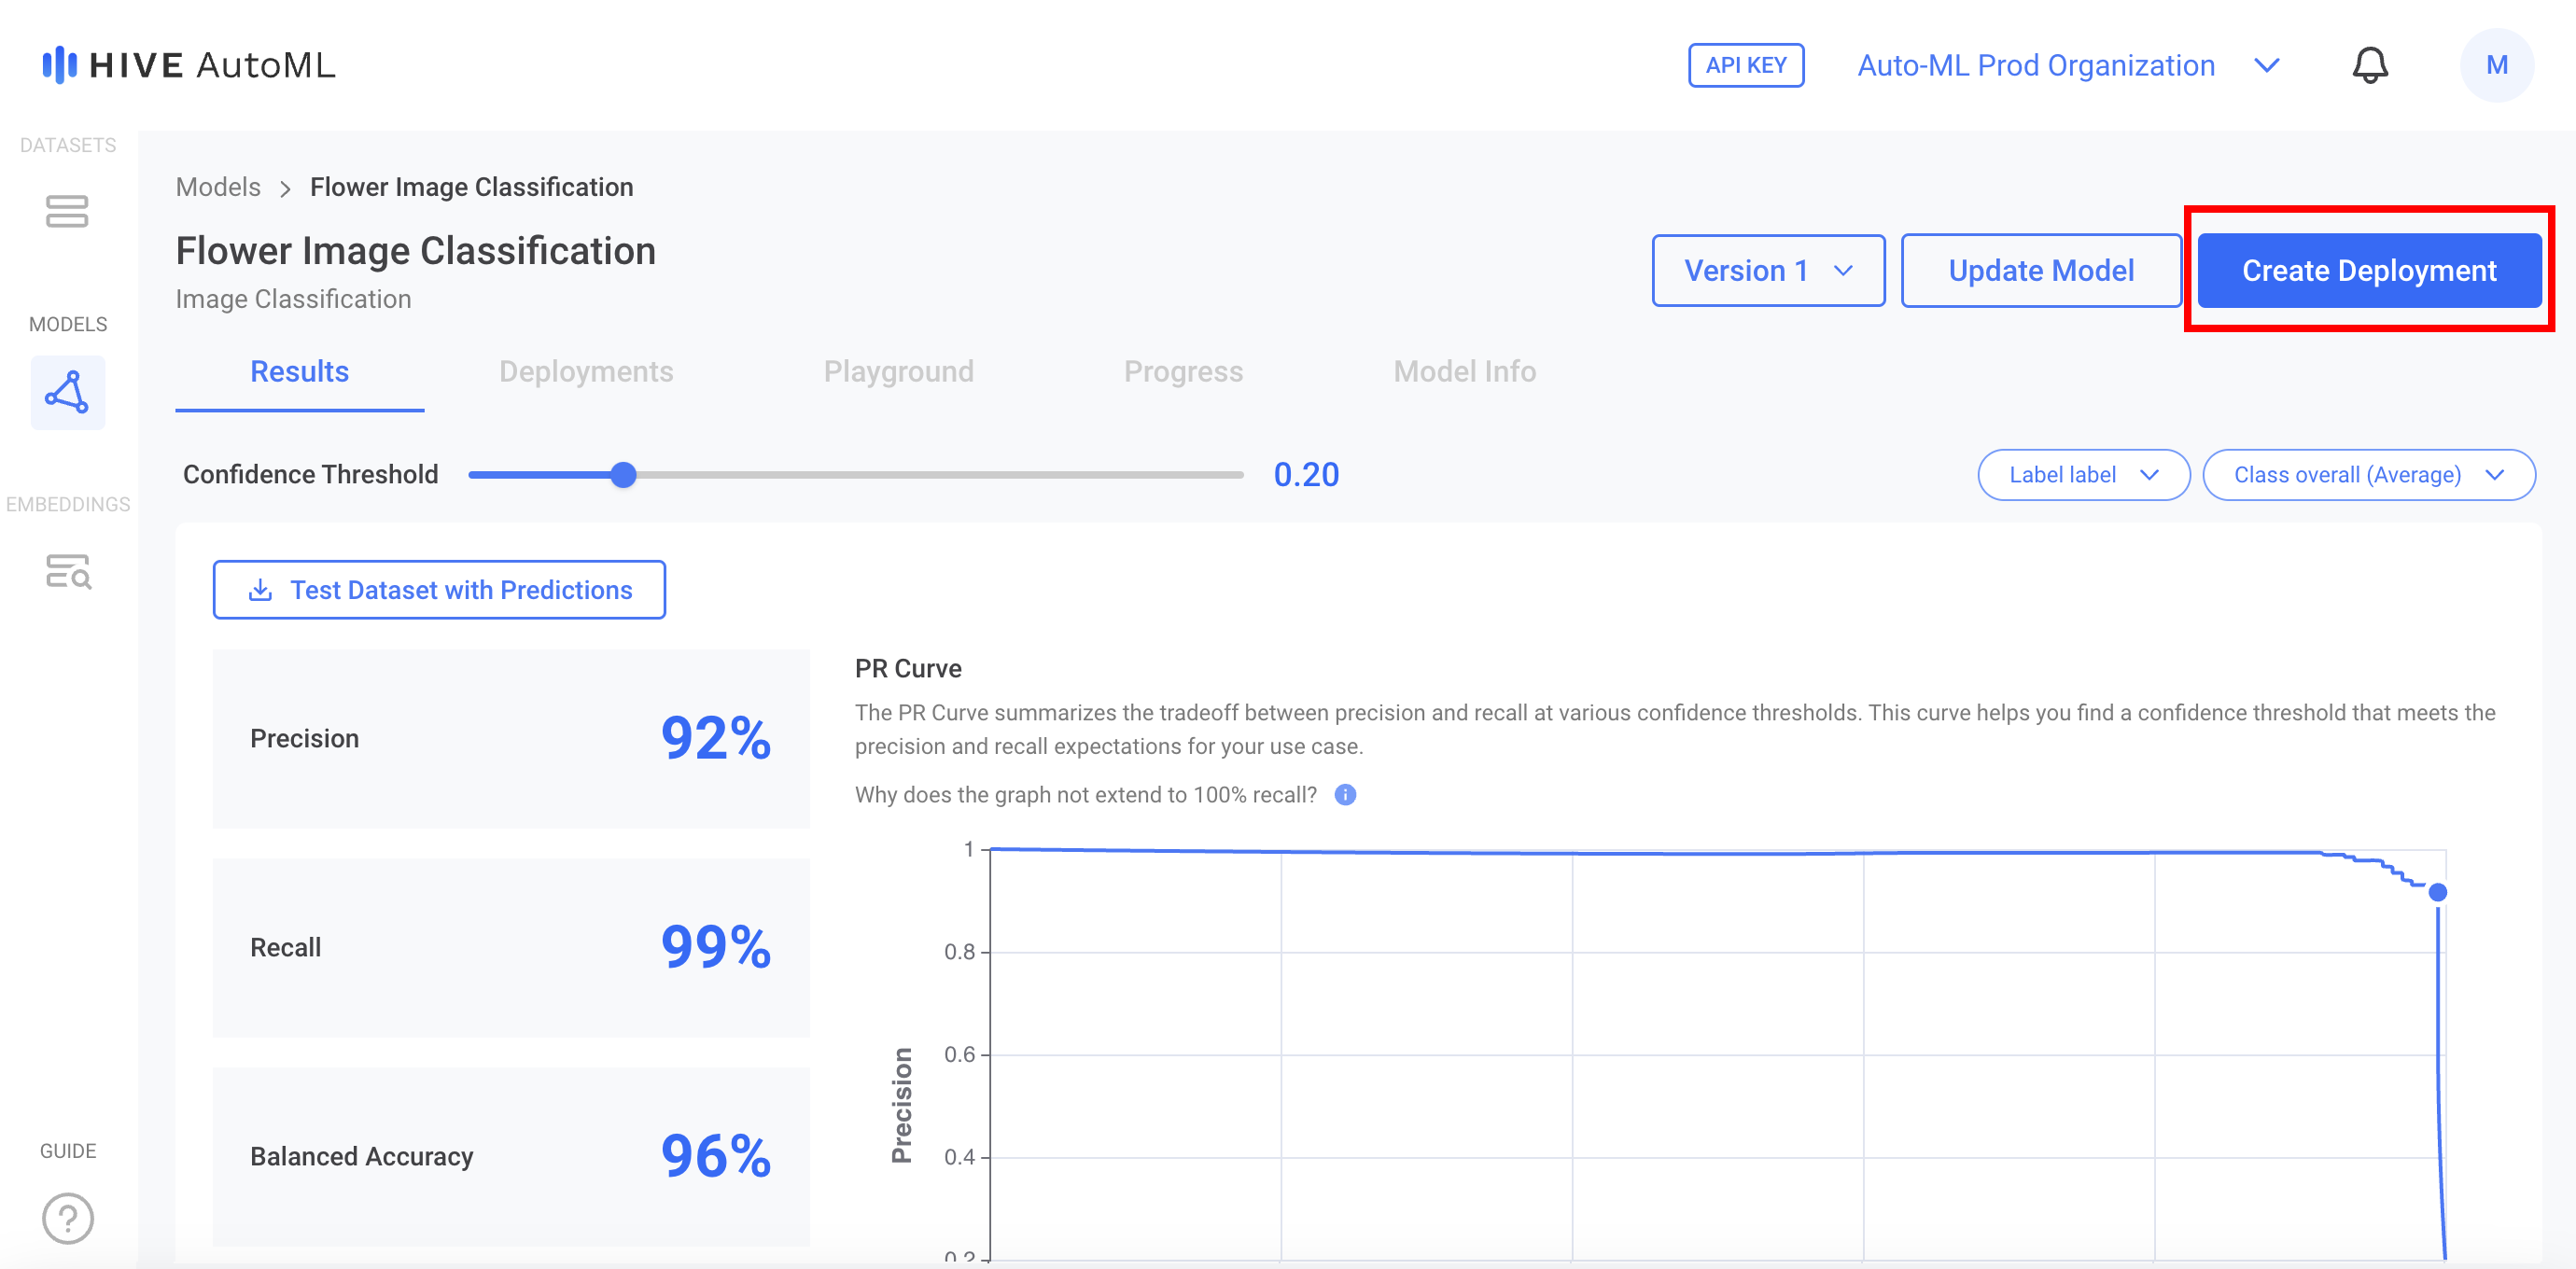
Step 4: Create a Deployment
If you are satisfied with the performance of your model, you can create a Deployment with the model to begin using it — just click Create Deploymenton the model page. Once the model is deployed, you'll get your API key and can begin submitting tasks to it like any other Hive API.
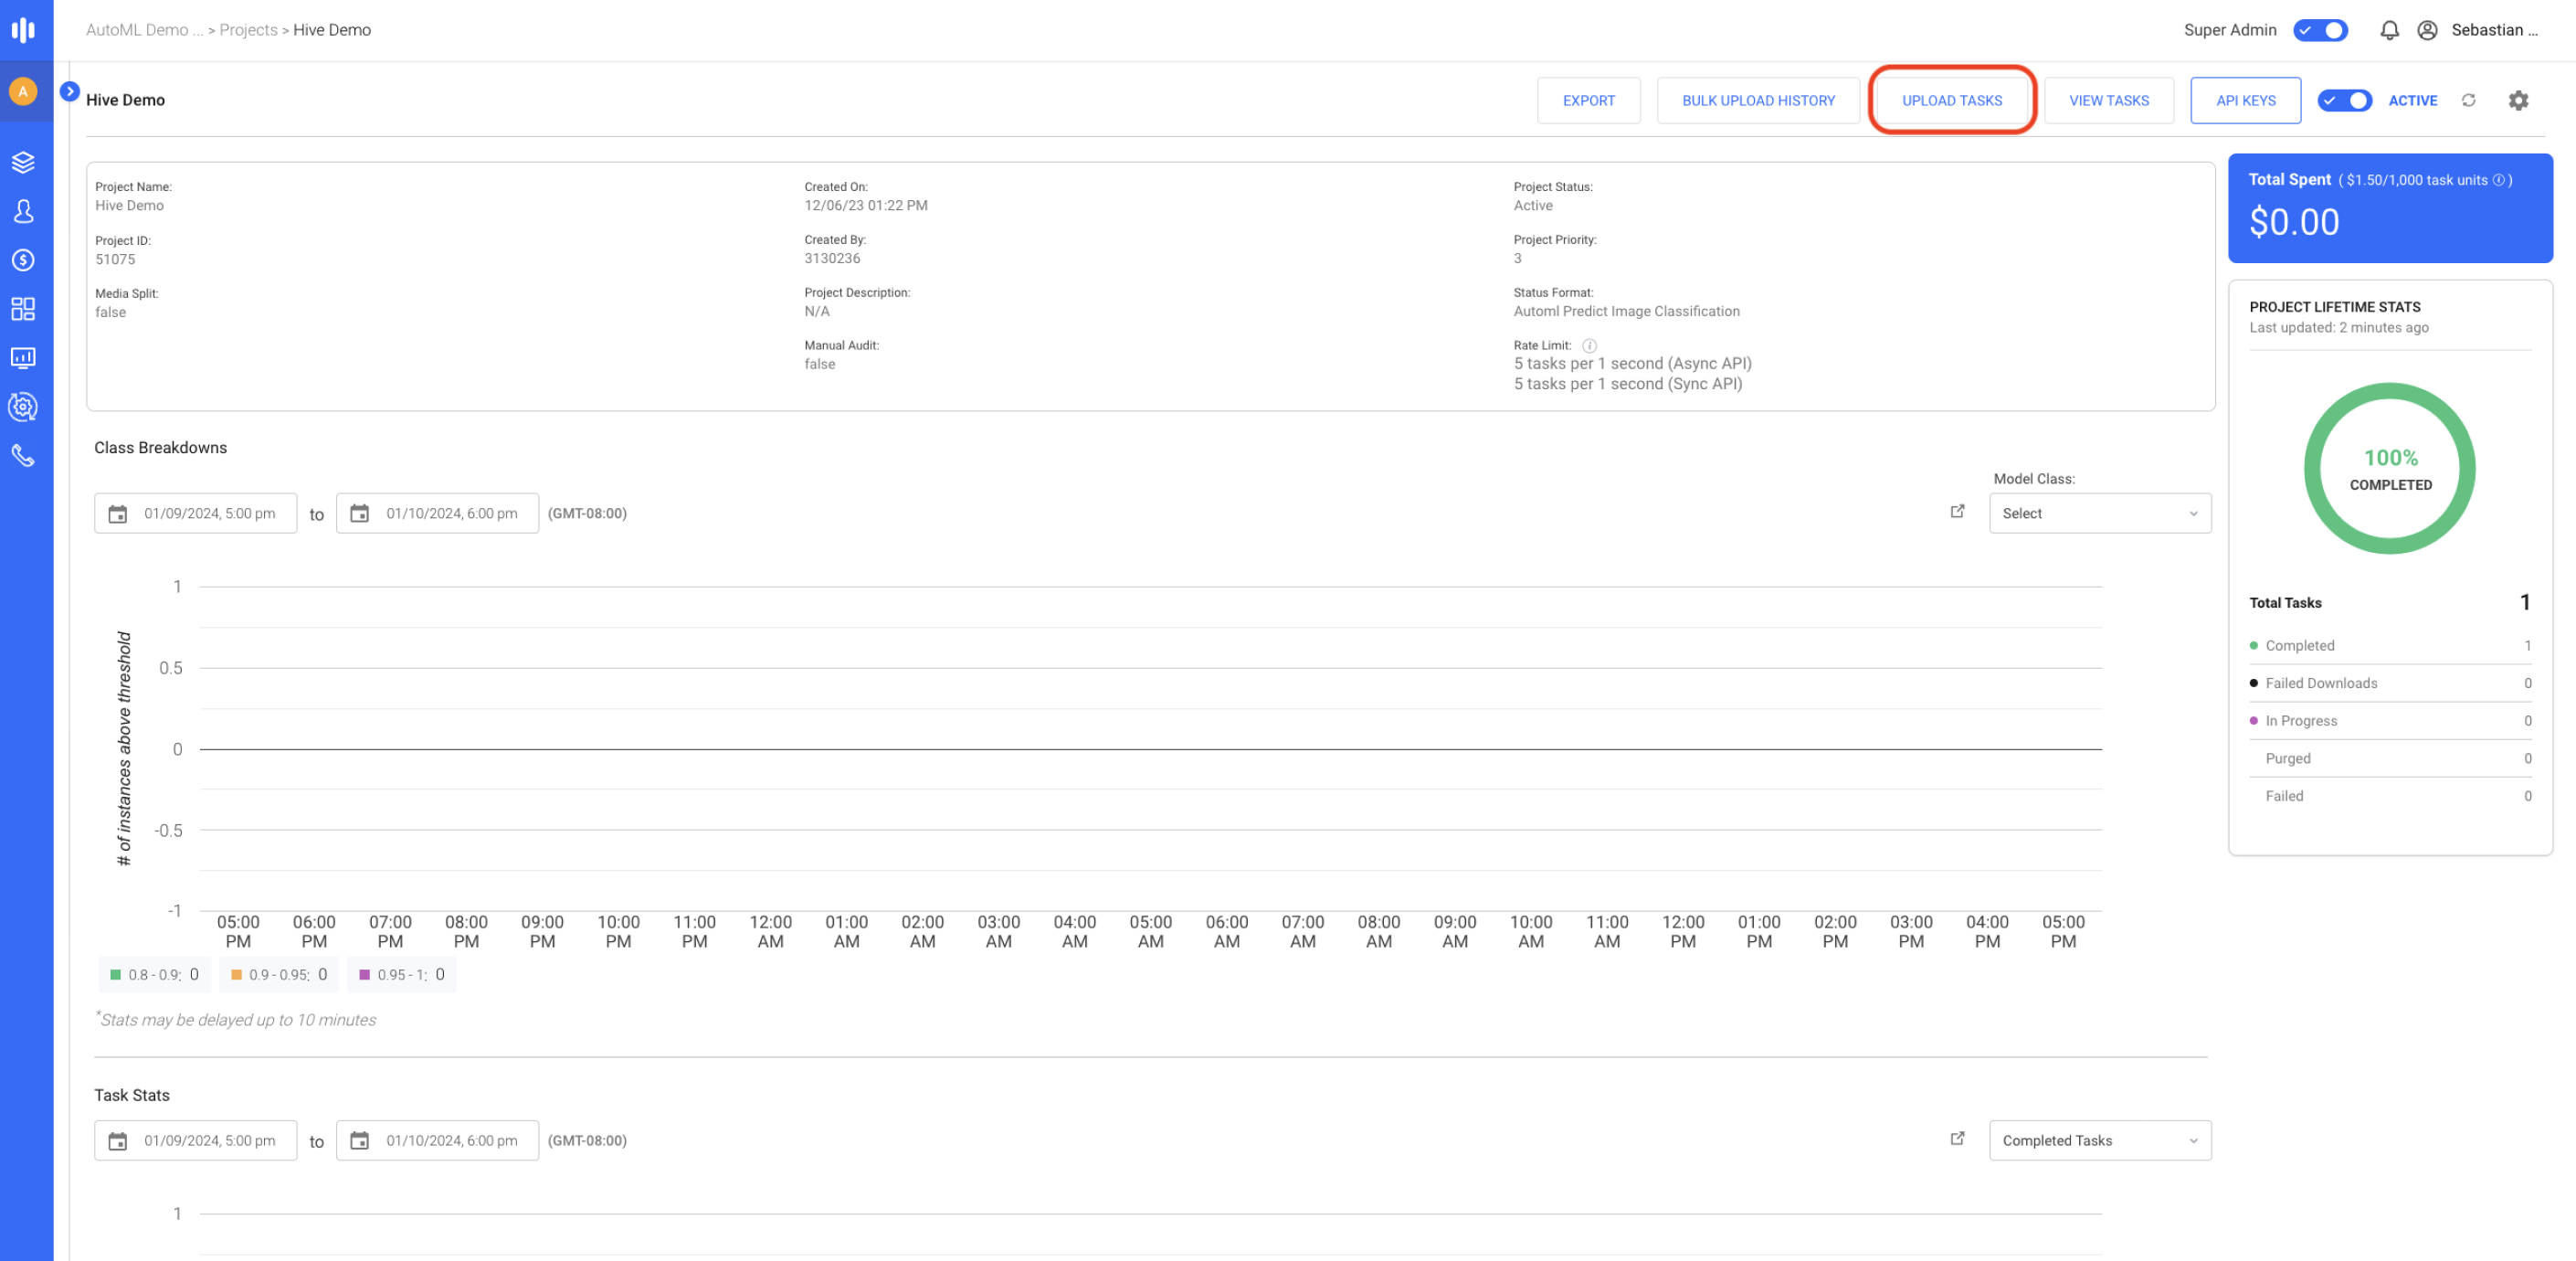
Step 5: Submit Tasks via API
Click on the name of your deployment to view the project on the Hive Data platform. From the Hive Data project you can upload tasks, view tasks, and access your API key as you would with any other Hive Data project.
Updated 4 months ago