Onboarding Okta OIDC with Hive
A guide to setting up an Okta OIDC application to integrate SSO with Hive
Thank you for choosing Hive. This guide explains how to set up an OpenID Connect (OIDC) application on Okta to provide your employees with Single Sign-On (SSO) capabilities for Hive. This is intended for employees with admin-level permissions on your company's Okta organization tasked with managing employees' access to Hive.
Creating the Okta Application
To get started setting up an OIDC integration on Okta with Hive:
-
Login to your company's Okta Admin Console.
-
Navigate to the Applications tab on the left sidebar.
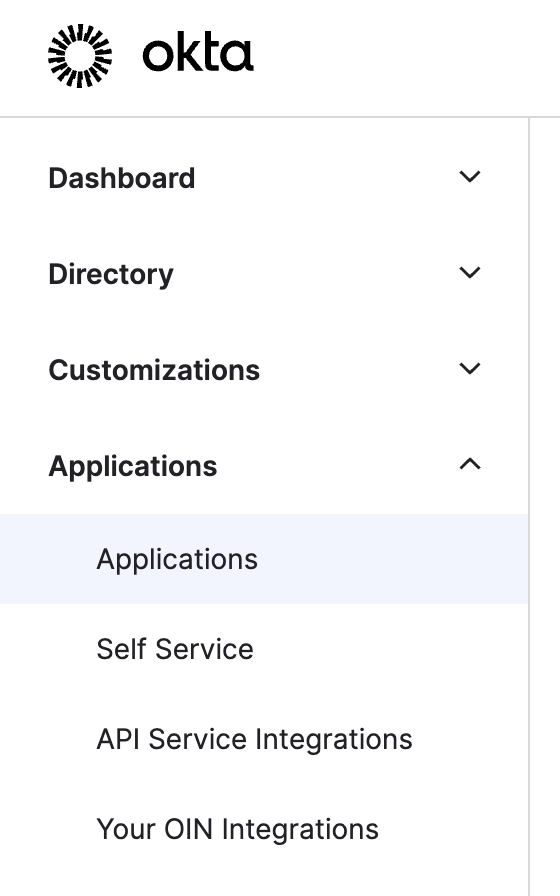
-
Click on Create App Integration.
-
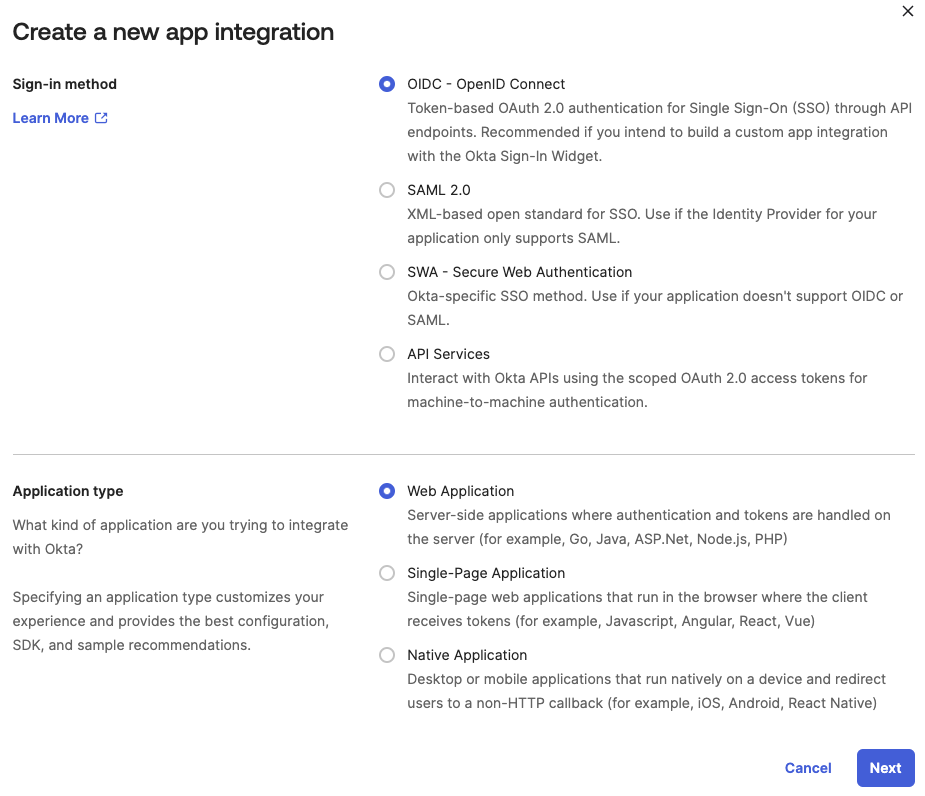
A pop-up window should appear.
-
For Sign-in method, select OIDC - OpenID Connect.
-
The window should then expand and allow you to select an Application type. Select Web Application.
-
-
A new screen should load, allowing you to configure multiple attributes of the new application. Feel free to configure and change settings according to your needs. All default values should work except for a few required attribute changes, listed below:
-
Sign-in redirect URIs
Please inputhttps://portal-customer-api.thehive.ai/sso/oidc/code. -
Grant type: Core grants
Please ensure Authorization Code is checked (this should already be done by default).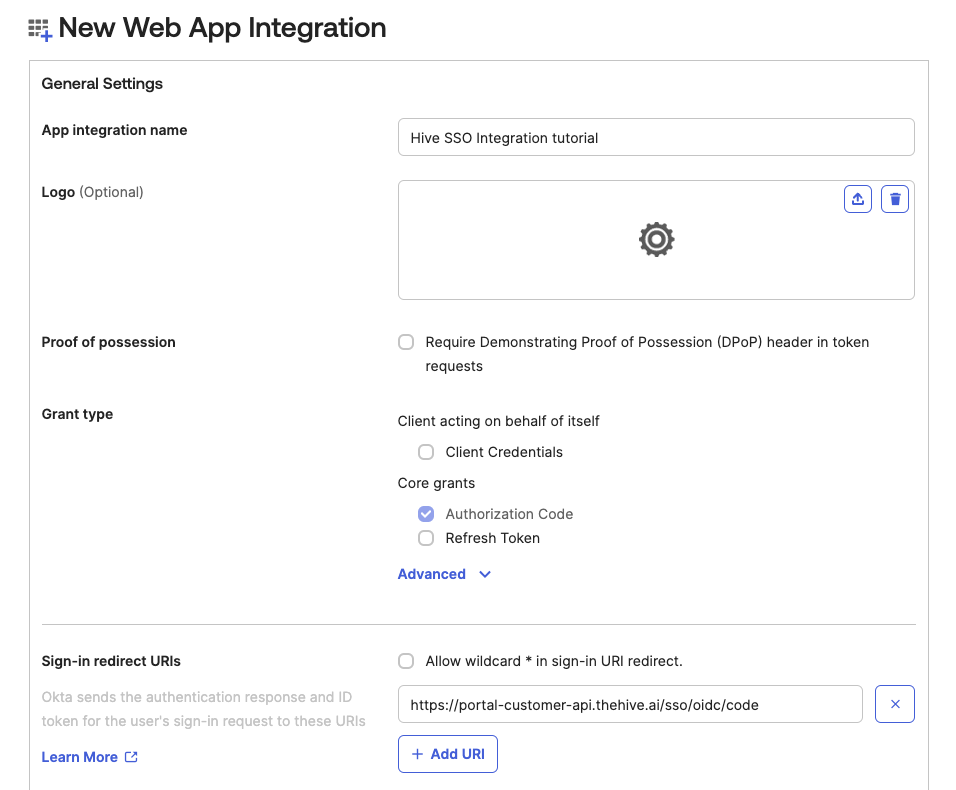
-
Note: You must select the option for Controlled access in the Assignments section at the bottom of the page before Okta allows you to create the application. Whichever option required for your use case should also work for SSO integration with Hive.
-
-
Click Save. The application should now be created.
-
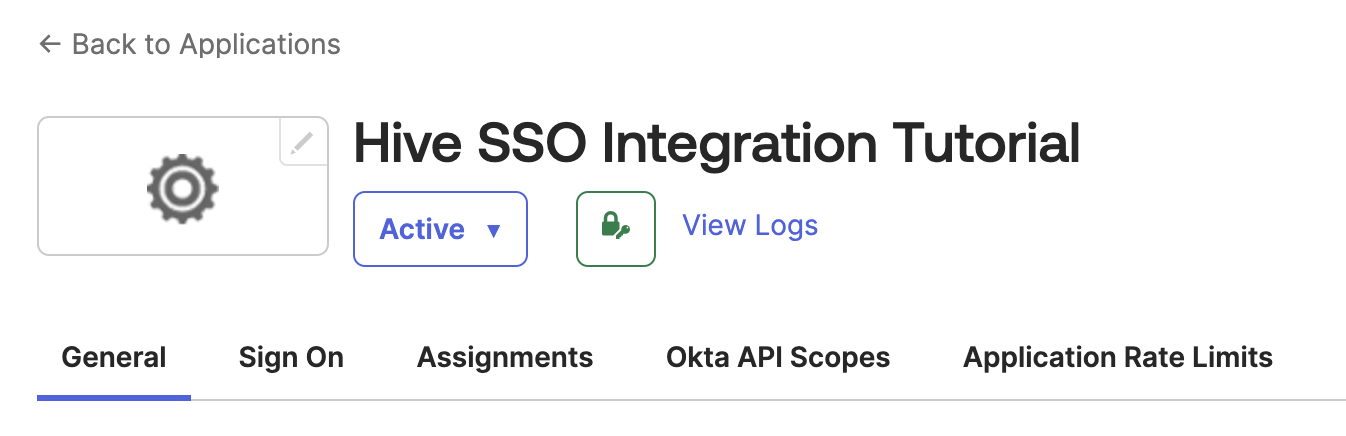
After the application is created, Okta should automatically redirect you to the application's settings page. If you are not redirected, navigate to this page by clicking the Applications tab on the left sidebar (refer to step 2) and then clicking on your newly created application.
-
Under the General tab in the application's settings' page, navigate to General Settings.
-
Within General Settings, navigate to the LOGIN section. Adjust the following values:
-
Login initiated by
Switch the dropdown selection from App Only to Either Okta or App. -
Login flow
Make sure the radio button Redirect app to initiate login (OIDC Compliant) is selected (this should already be done by default). -
Application visibility
Make sure the checkbox Display application icon to users is checked. This allows your employees to view your newly created application. -
Initiate login URI
Please inputhttps://portal-customer-api.thehive.ai/sso/oidc/initiate.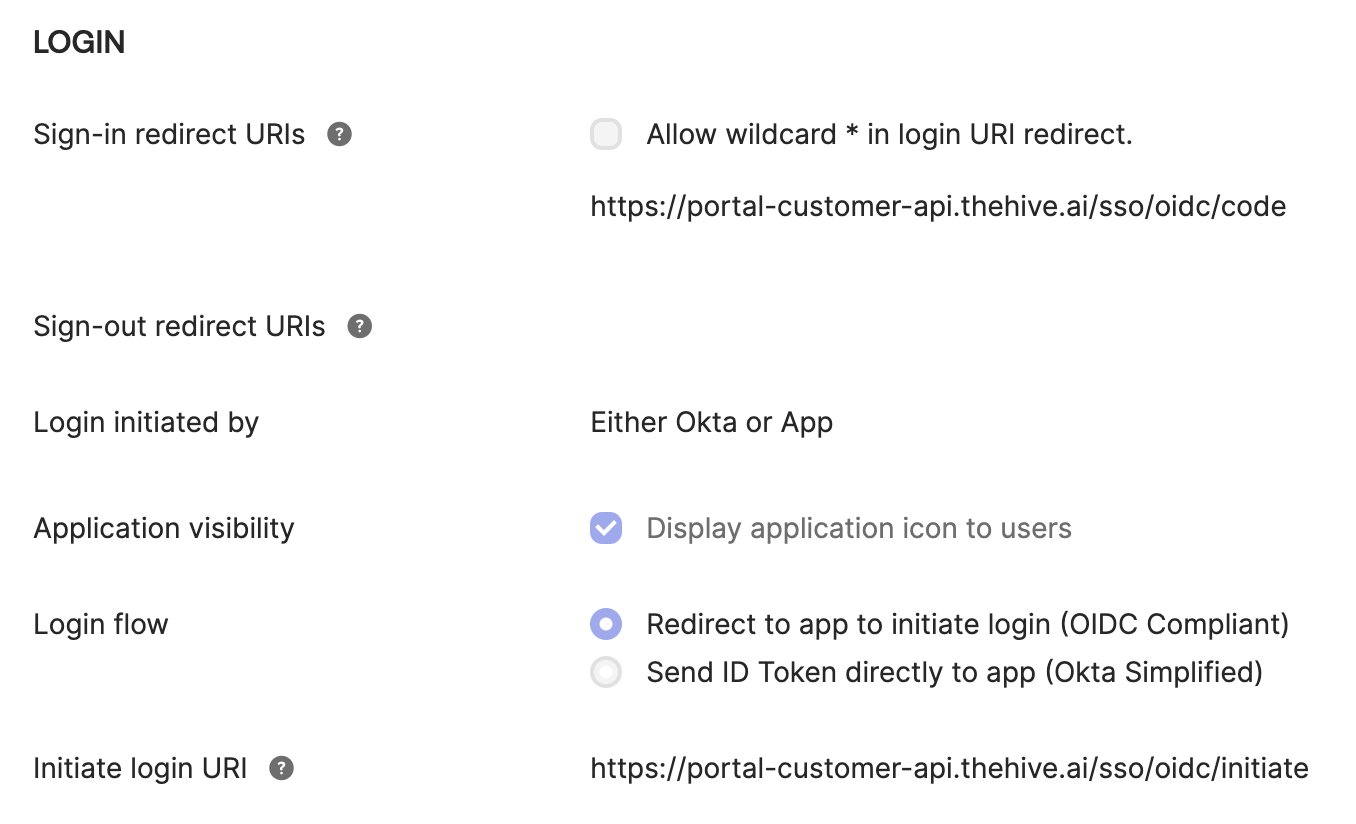
-
-
Click Save.
-
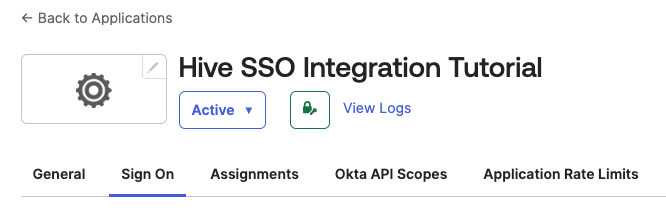
Click the application's settings page's Sign On tab.
-
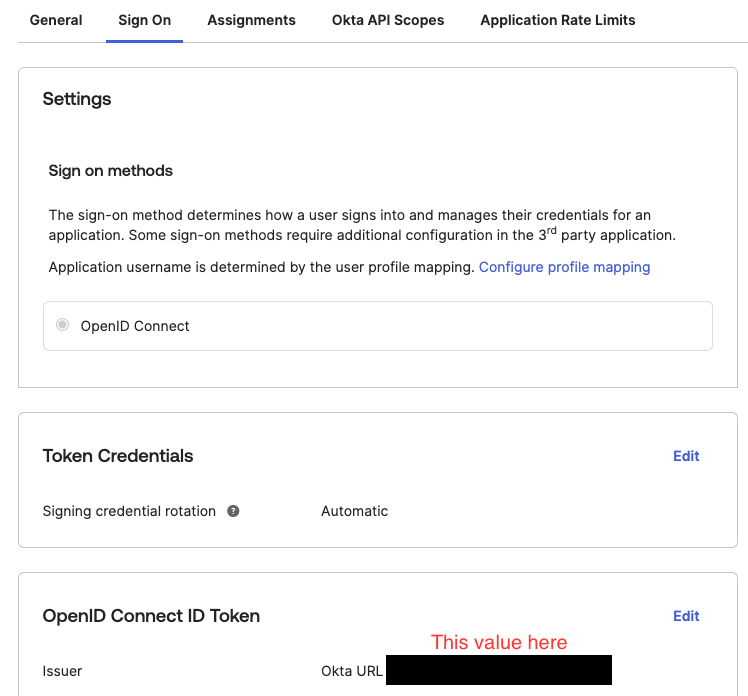
Navigate to the OpenID Connect ID Token section and click the Edit button. Change the Issuer value to Okta URL and click Save.

This completes the setup needed on Okta for integration with Hive. However, Hive requires some additional information before SSO is fully configured.
Completing Integration with Hive
First, you will need to collect the following three pieces of information needed by Hive to complete SSO integration. Two of these can be found under the General tab of your newly created Okta application.
-
Client ID
Under the Client Credentials section, the Client ID should be displayed. Use the adjacent button to copy the Client ID to your clipboard. -
Client Secret
Under the CLIENT SECRETS section, a single secret value should be present. Once again, you can use the adjacent button to copy the secret value to your clipboard.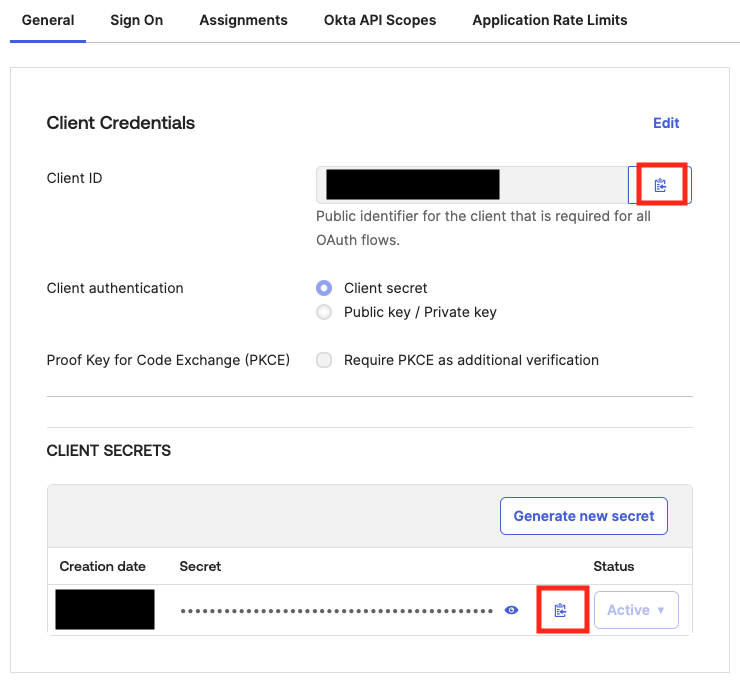
The last piece of information required by Hive is the Issuer value. This can be found under the Sign On tab of your newly created Okta application in the OpenID Connect ID Token section.
Once you have collected the following three pieces of information:
- If you do not have Self Serve SSO enabled, please send the Client ID, Client Secret and Issuer values to your Hive representative. Shortly afterward, SSO with Hive will be fully set up. If you would also like to enable Self Serve SSO to further simplify integration with Hive in the future, please follow the instructions on the Enabling Self Serve SSO document to get started.
- If you do have Self Serve SSO enabled, please follow the instructions below.
-
Navigate to the Manage SSO tab on your Hive organization dashboard.
-
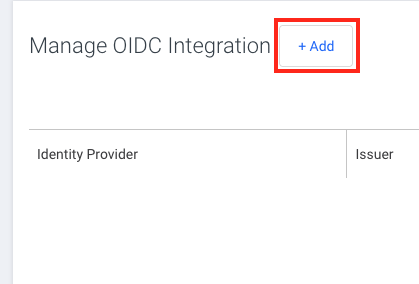
Click the Add button next to the Manage OIDC Integration header.
-
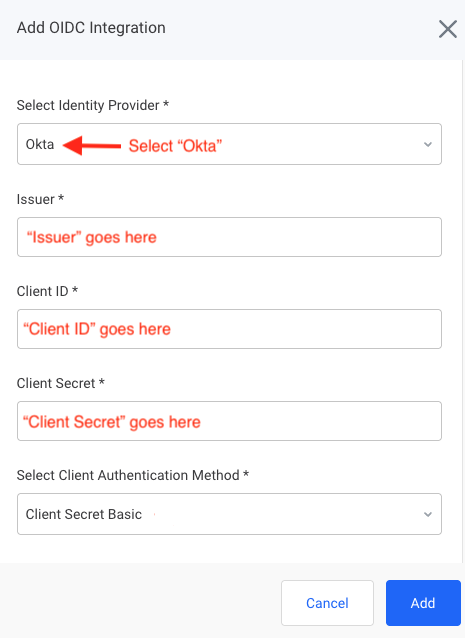
A pop-up window should appear. Enter the following values:
-
For Identity Provider, select Okta.
-
For Issuer, please enter your Issuer found above.
-
For Client ID, please enter your Client ID found above.
-
For Client Secret, please enter your Client Secret found above.
-
For Client Authentication Method, unless you explicitly selected something different while setting up your application, the Okta default should be Client Secret Basic.
-
-
Click Add. SSO with Hive via OIDC should now be fully set up.
Managing Groups
Hive offers Group-Based Permission Mapping for Okta OIDC. To create a group and include its information in the OIDC assertion, follow the instructions below. Note: You can send multiple groups' information in one assertion.
- Login to your company's Okta Admin Console.
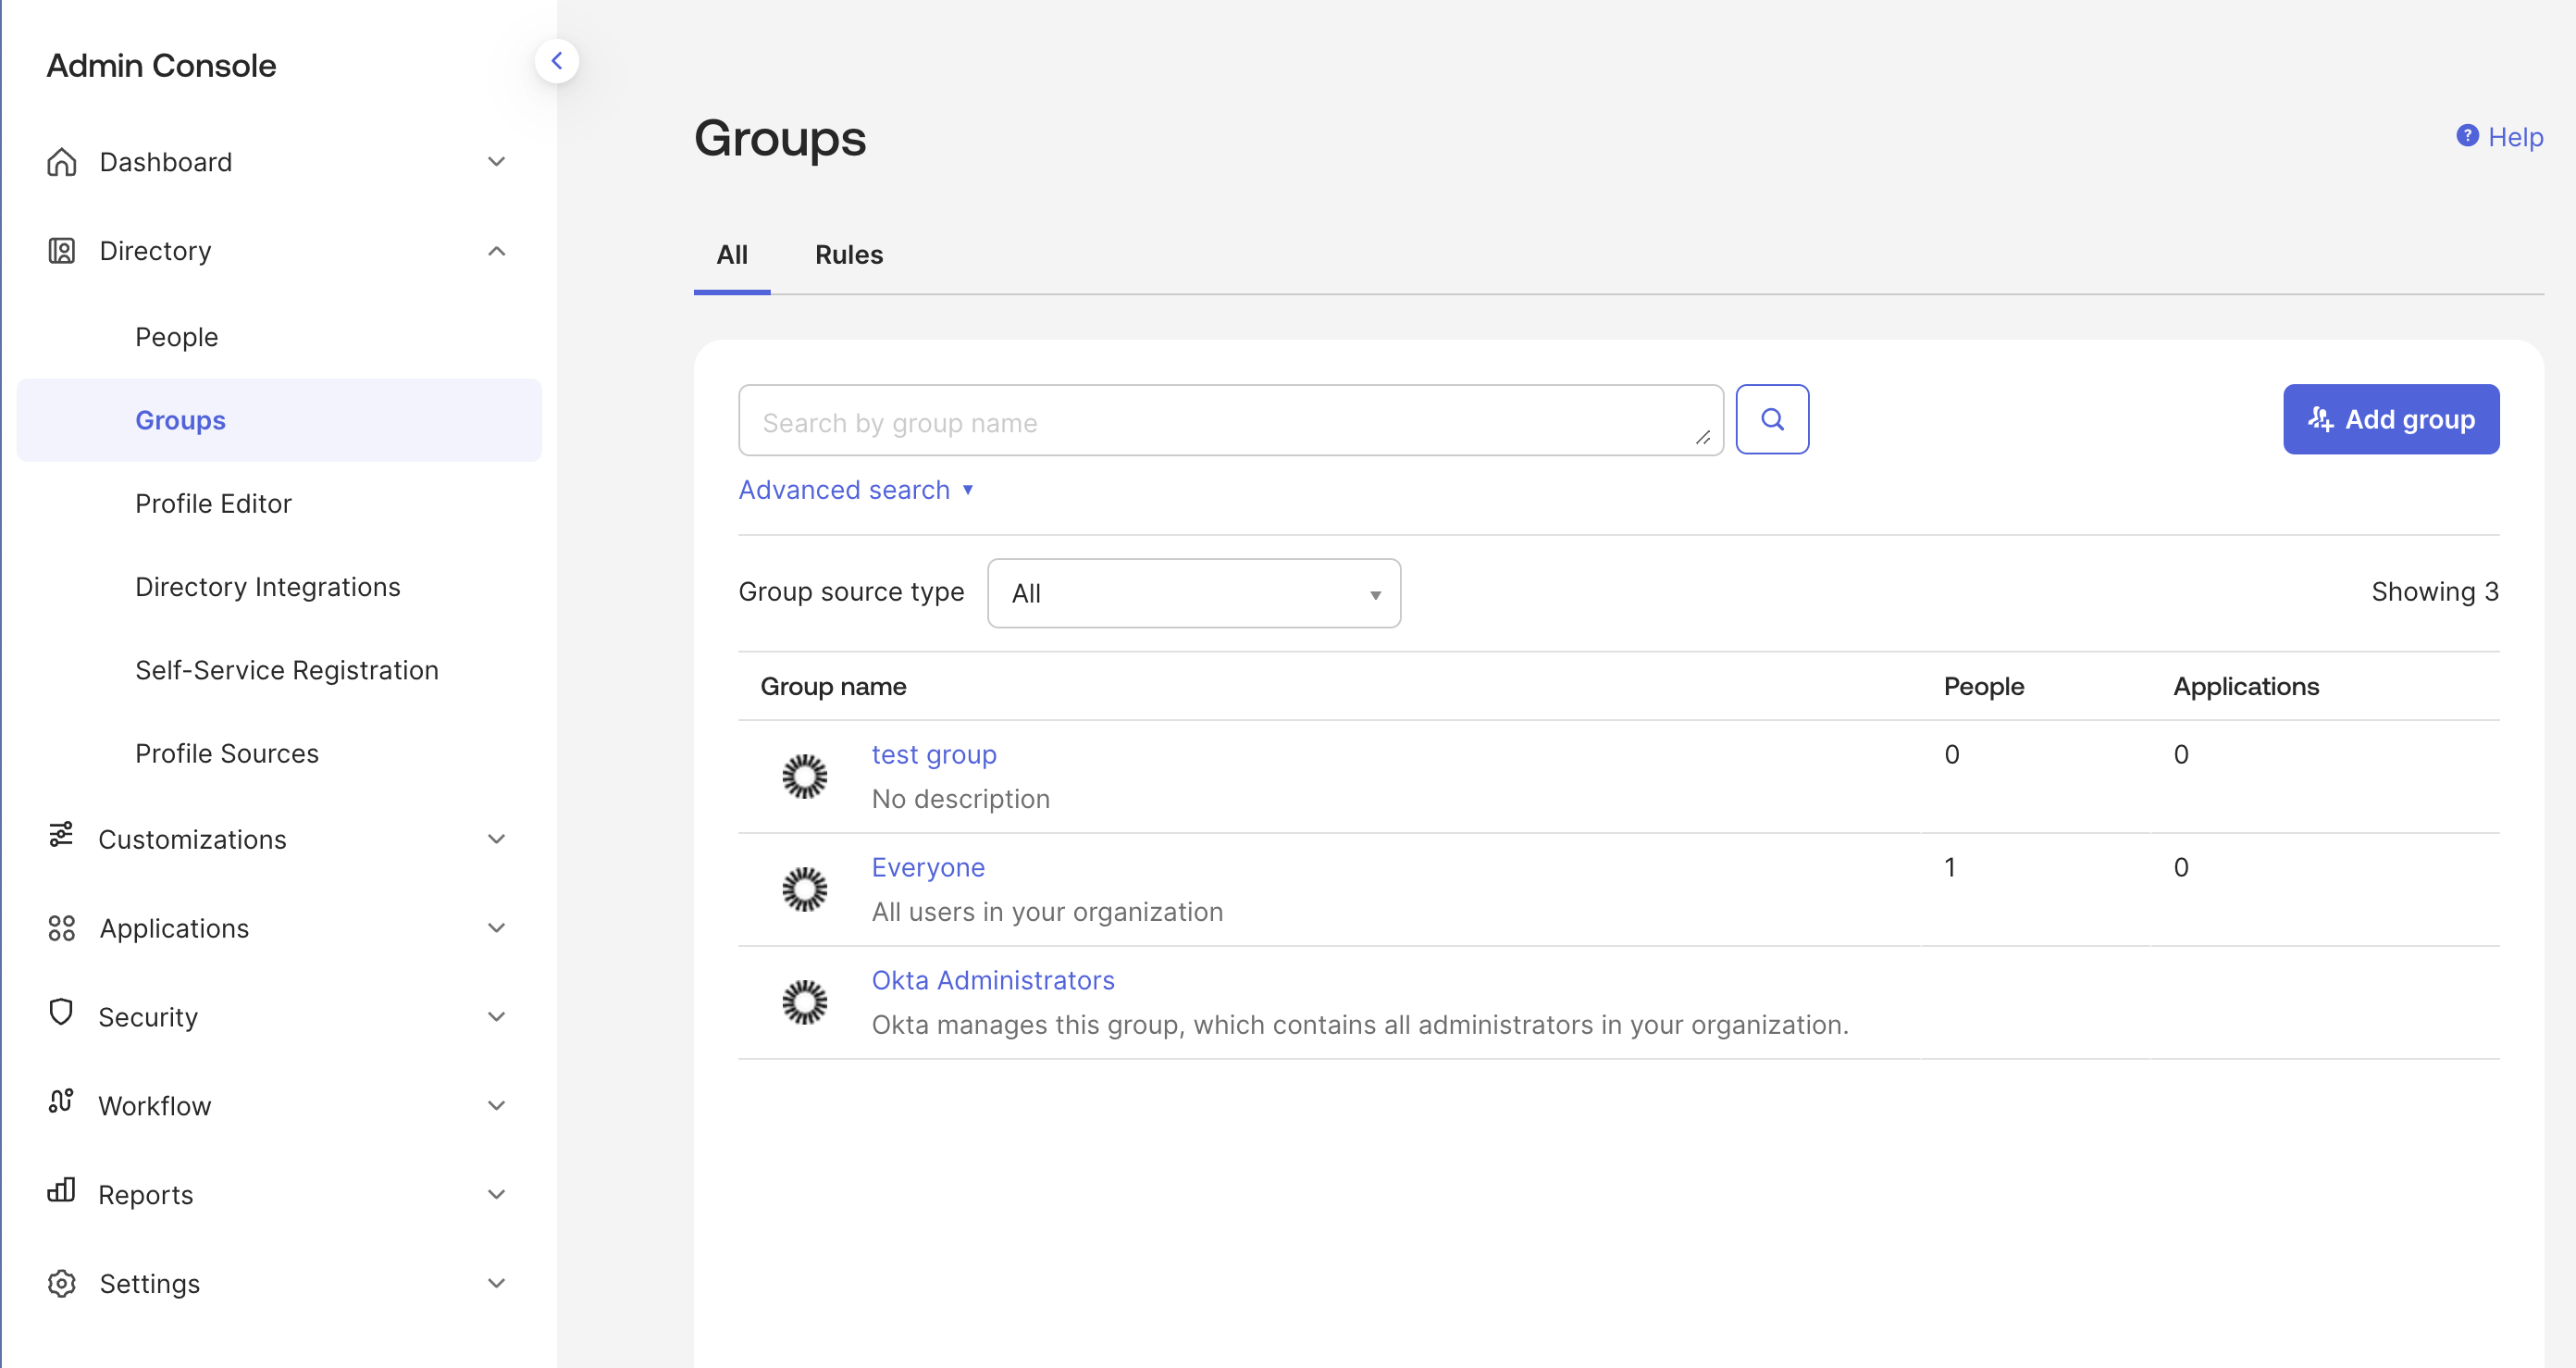
- Navigate to the Directory tab on the left sidebar. Click on the Groups tab within.
- Here, you can create groups and add members by clicking the Add group button.
- Next, navigate to the Applications tab in the left sidebar and click on the Applications tab nested within.
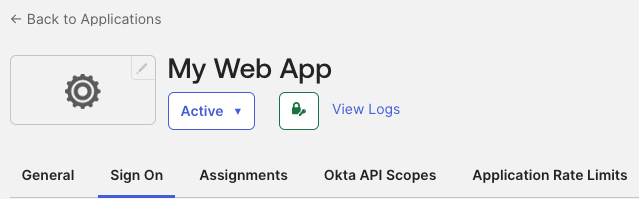
- Click on your OIDC SSO application.
- Navigate to the Sign On tab.
- Scroll down to the OpenID Connect ID Token section and click on Edit.
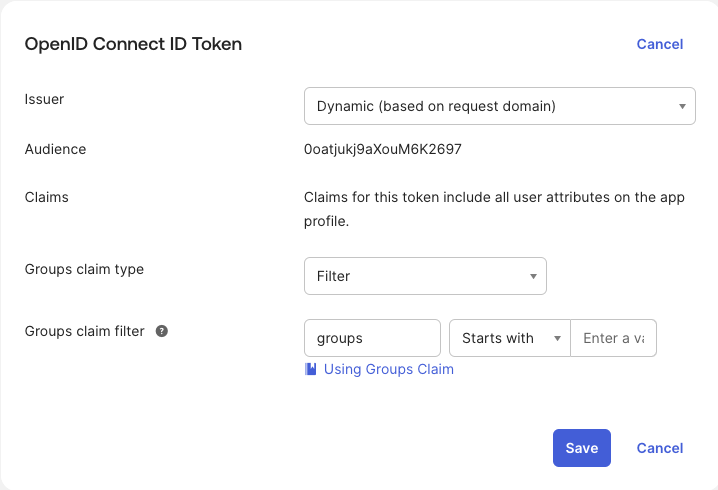
- Select Filter for the Groups claim type. For the Groups claim filter, set the key as groups and set the filter as needed.
Updated 2 months ago