User Tags
User Tags allow you to label and segment patrons on your platform. Tags can be assigned to patrons and referenced in Rules to apply conditional moderation logic.
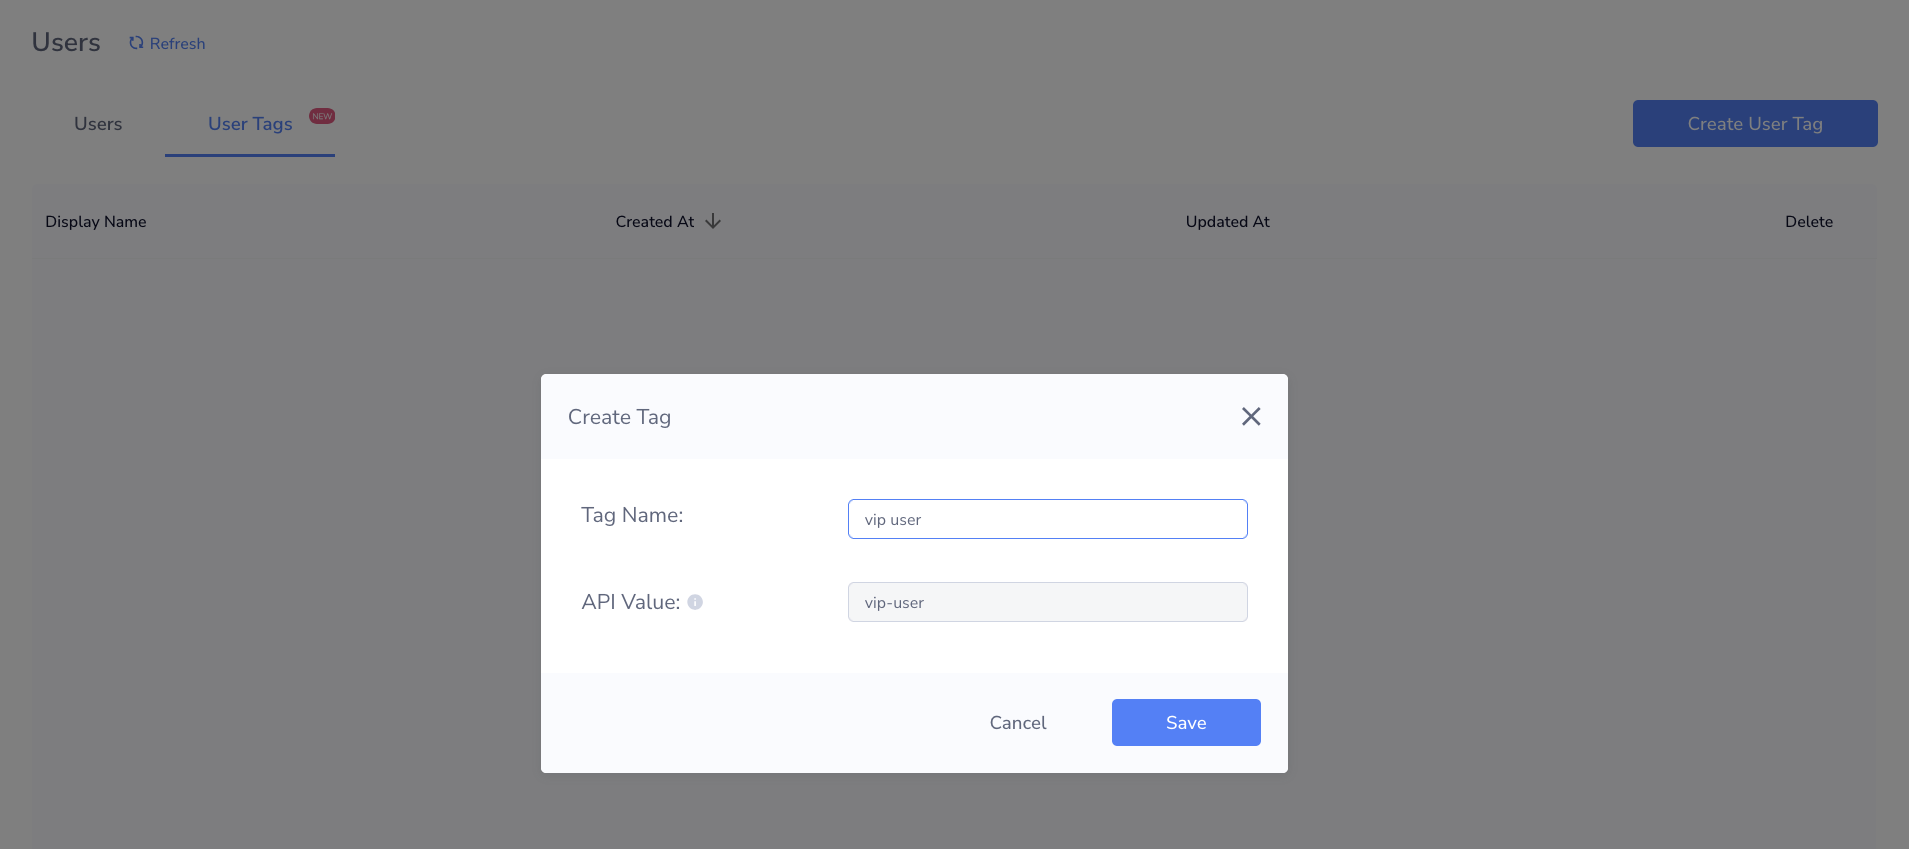
Creating User Tags
- Navigate to the Users page and select the User Tags column.
- Click Create User Tag.
- Enter a Tag Name (acts as the display name).
- API Value is auto-filled based on the Tag Name — spaces are replaced with underscores (e.g.,
vip_user). - The API Value is used by external endpoints to add or remove User Tags from a patron.
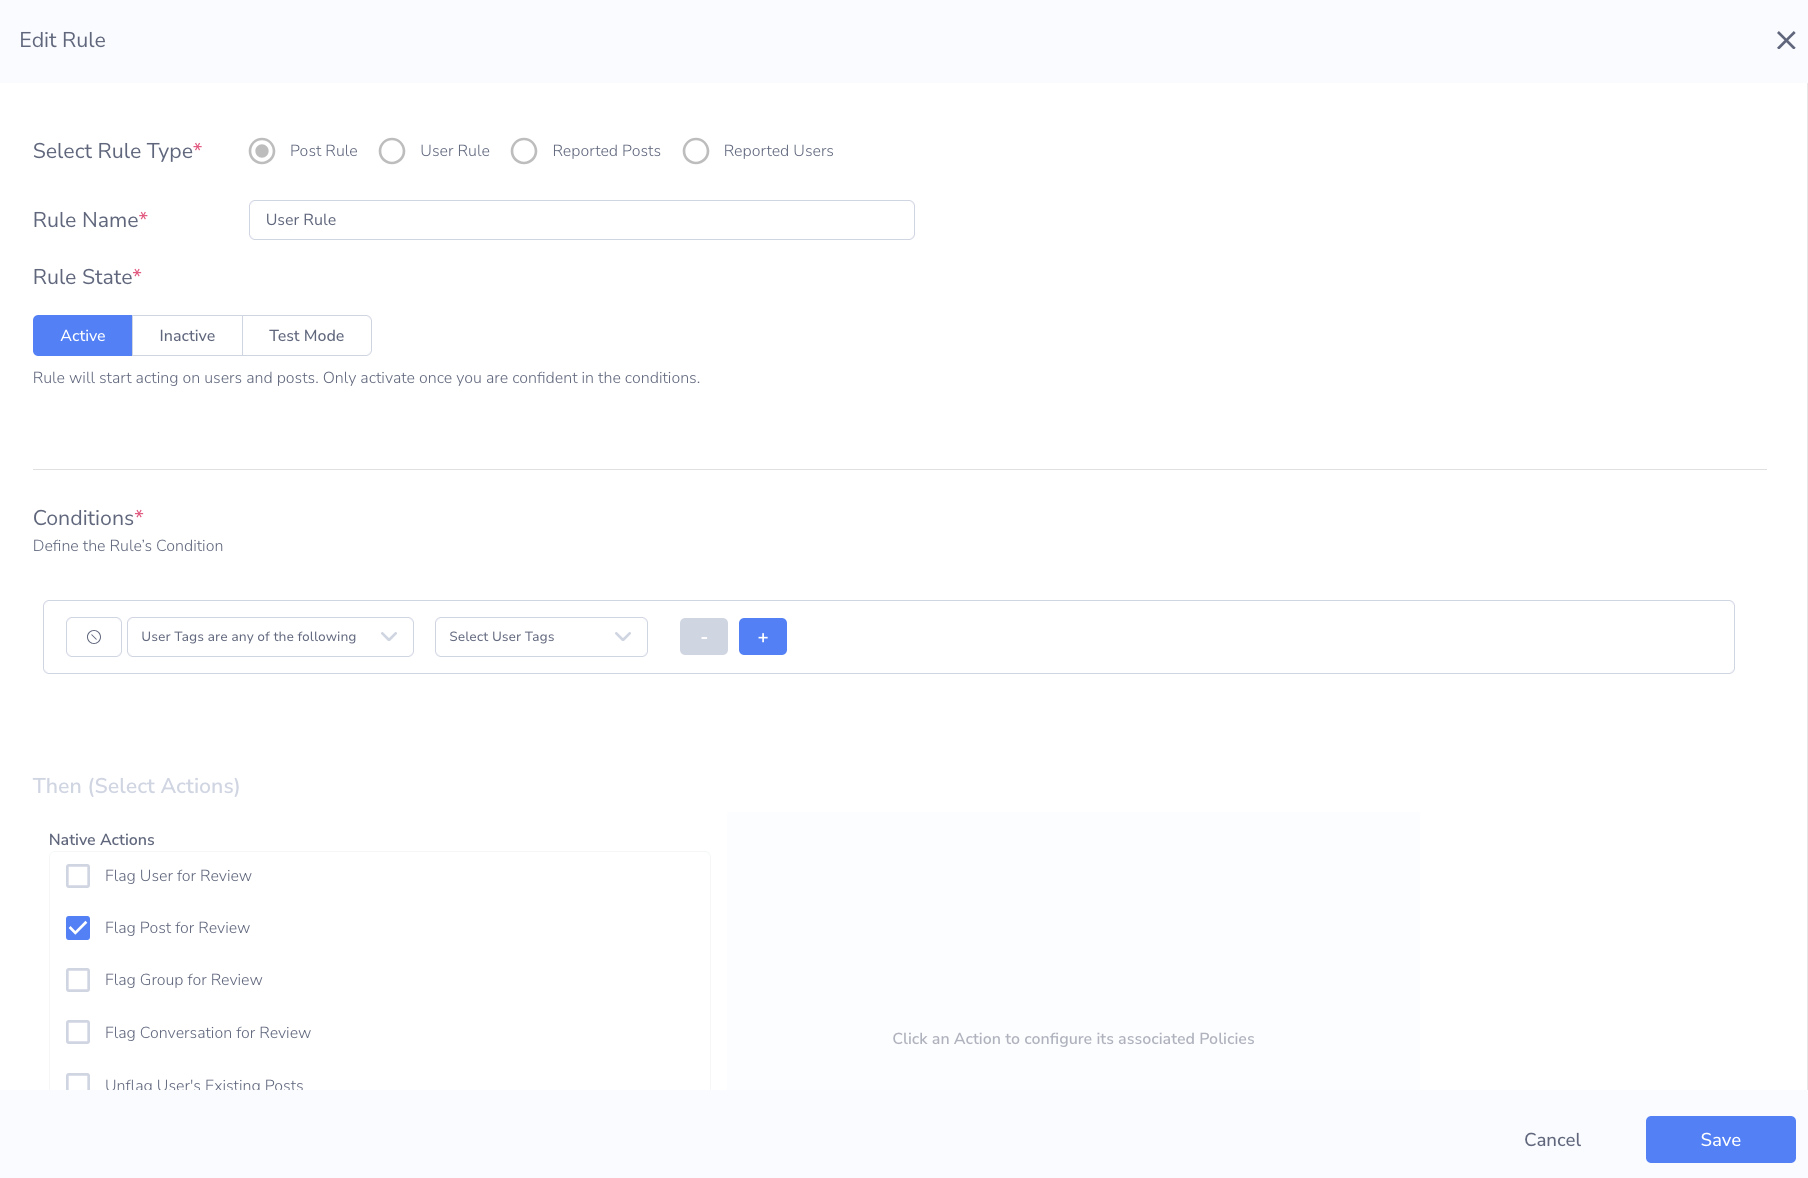
Using User Tags in Rules
User Tags can be referenced as conditions when building Rules. This allows you to apply different moderation thresholds or actions based on how a patron has been labeled:
- User Tags are any of the following
- User Tags are NOT any of the following
Note: User Tags can also be assigned automatically as a native action when a Rule is triggered.
User Tags in Rule Conditions (1)

User Tags in Rule Conditions (2)
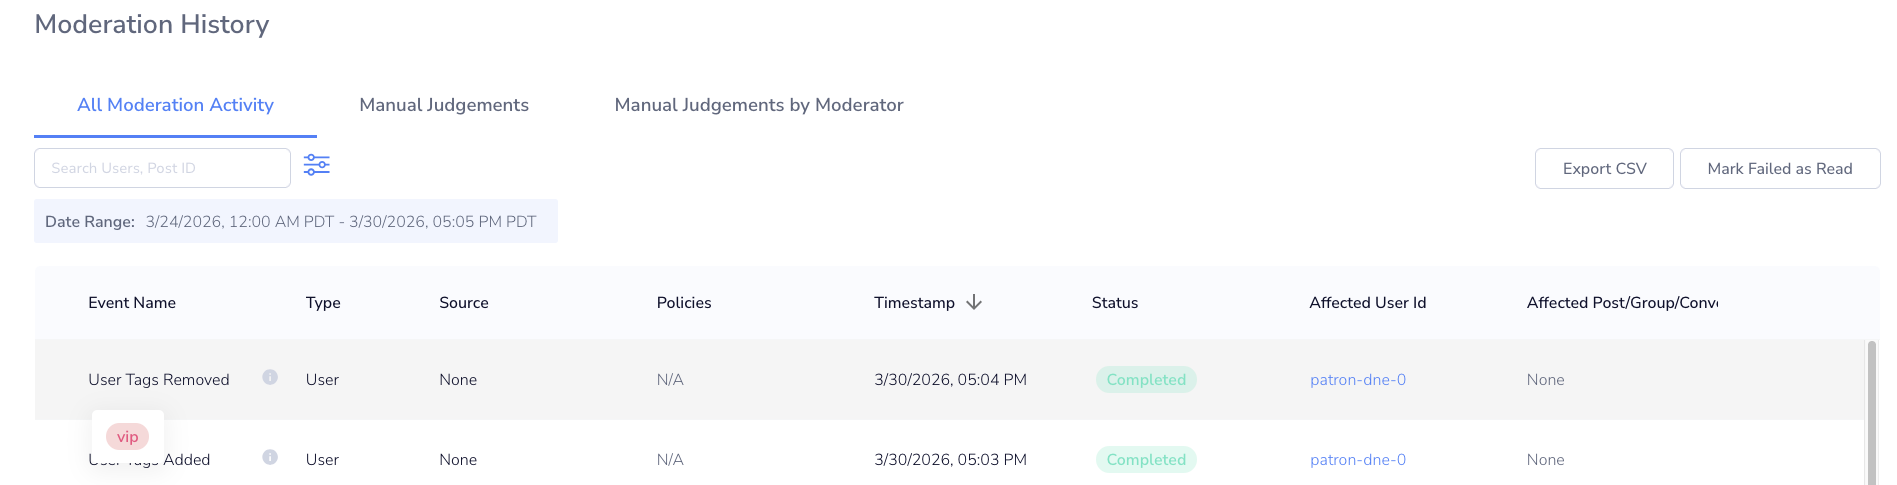
Auditing User Tag Activity
Navigate to Moderation Logs to audit User Tag assignments:
- User Tags Added
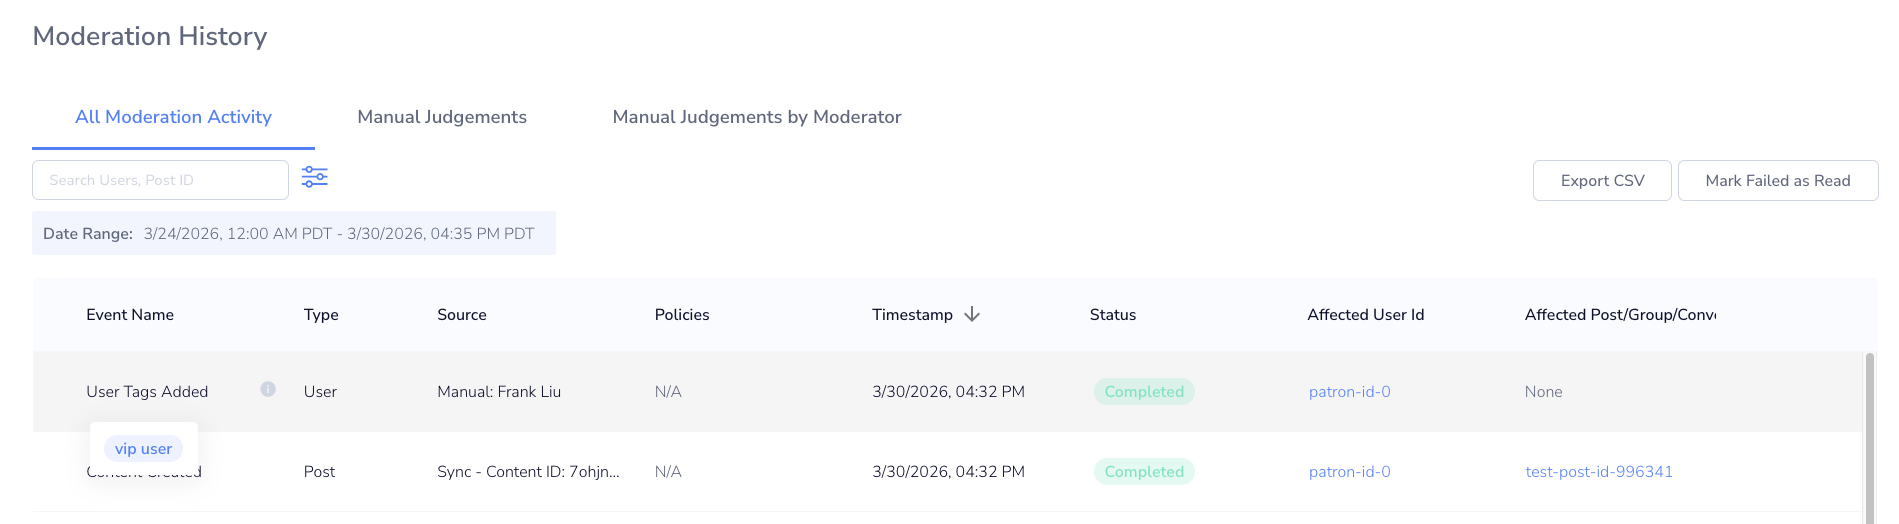
- User Tags Removed
Viewing Tagged Patrons
- Click into a User Tag on the User Tags page to see all patrons assigned to that tag.
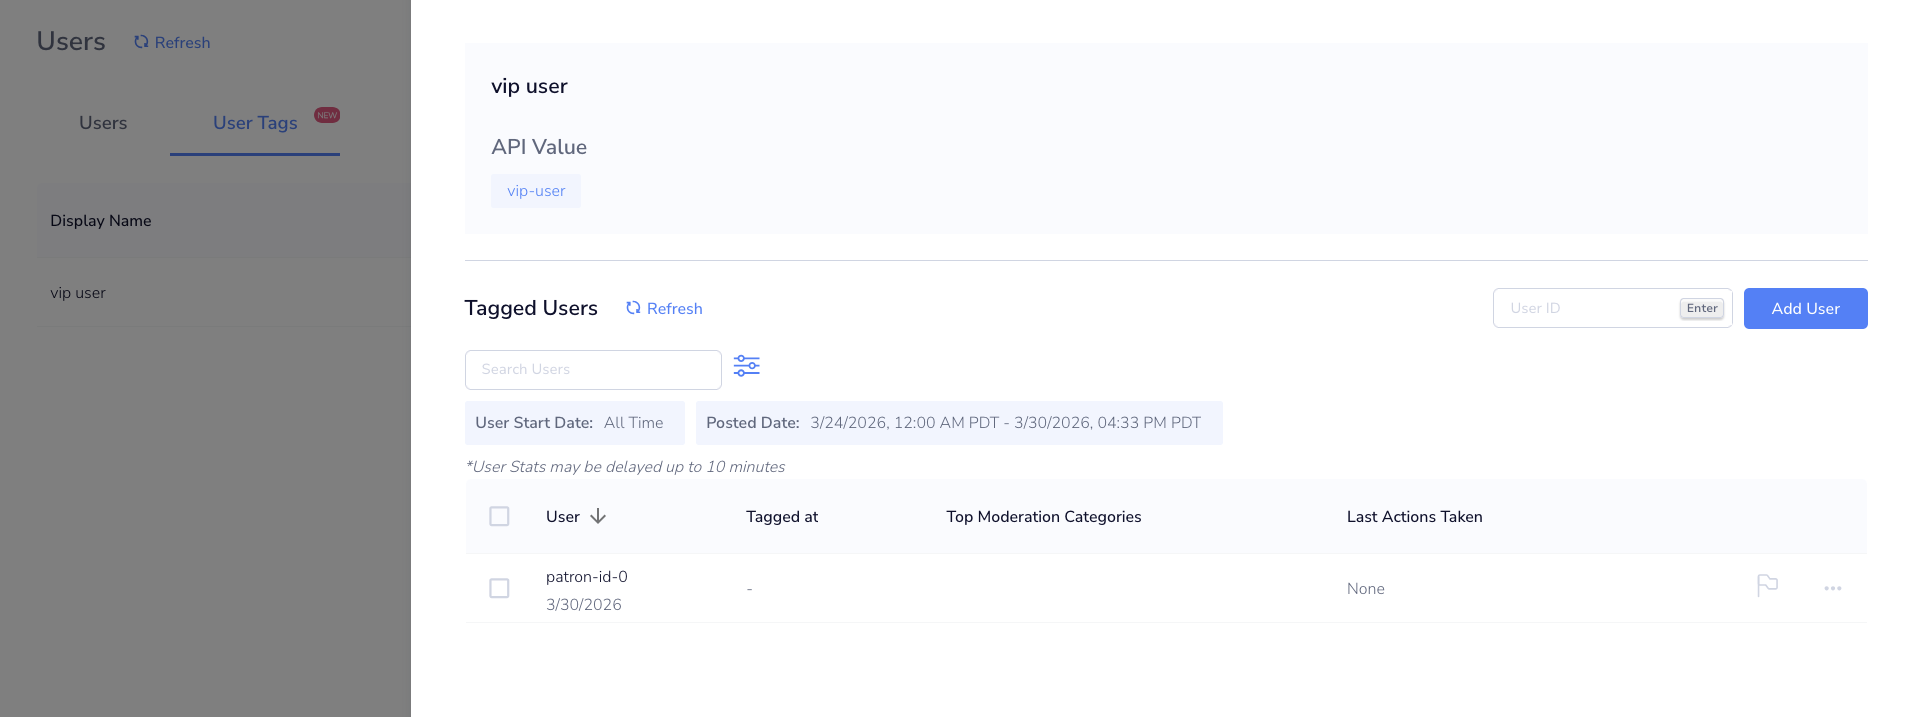
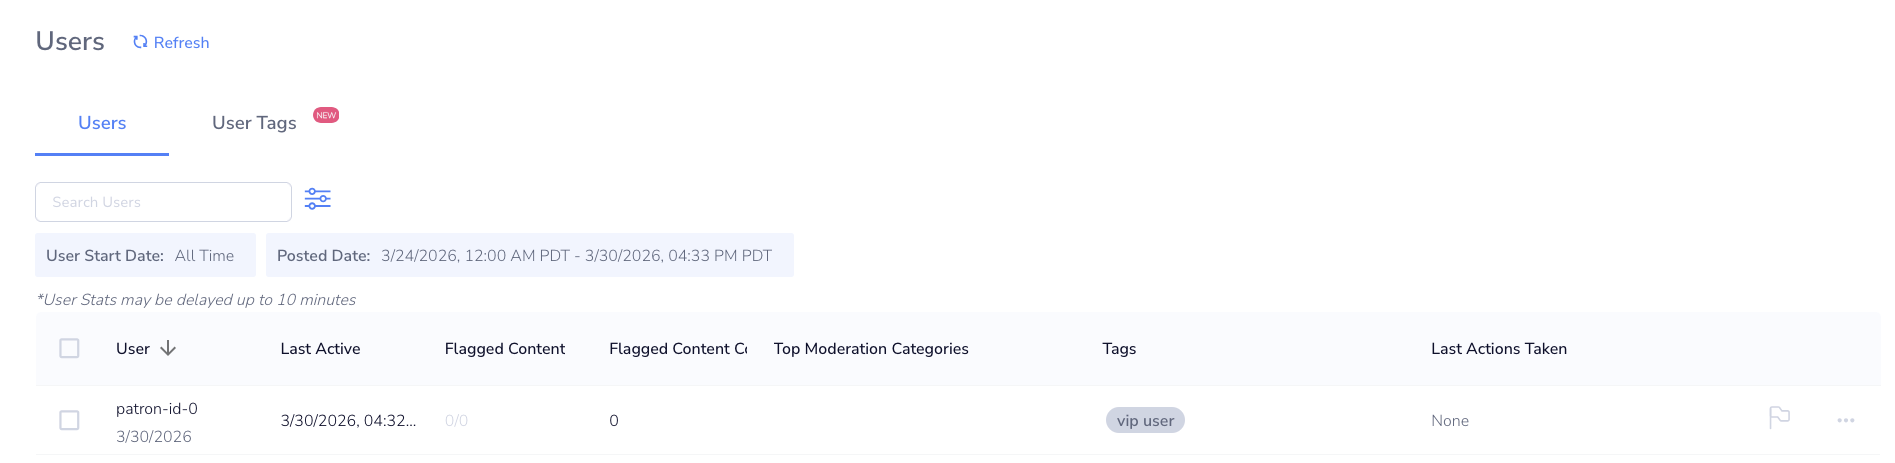
- Navigate to the Users column to view individual patrons and the User Tags currently assigned to them.
CSV Upload History
Bulk assign User Tags to patrons by uploading a CSV file. All User Tags referenced in the CSV must be created in Moderation Dashboard before uploading.
Preparing Your CSV
We recommend structuring your CSV with two columns:
user_id: the patron's User ID.user_tags: a comma-separated list of User Tags to assign (e.g.,“one, two"not[one, two]).
Note: Patron IDs do not need to exist in the platform prior to upload. They will be created automatically on submission.
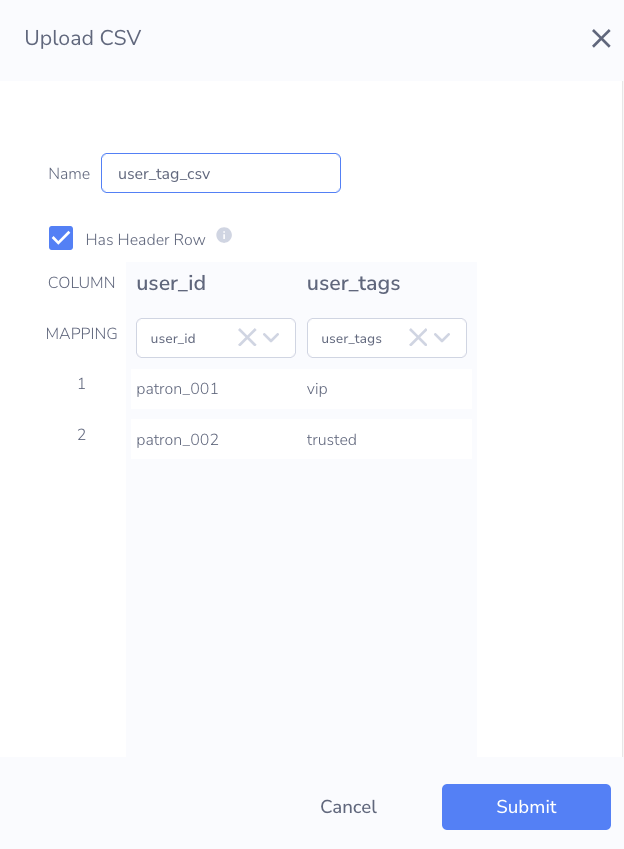
Uploading a CSV
- Navigate to the User Tags page and upload your CSV file via
Assign User Tags. - A preview will appear allowing you to:
- Indicate whether the file has a header row
- Select the column mapped to users
- Select the column mapped to user tags
- Click Submit.
After Uploading
- For each User Tag successfully assigned to a patron, an individual Moderation Log entry will be created under User Tags Added.
- A Moderation Log entry will be created indicating the overall status of the upload.
CSV Upload History
Navigate to CSV Upload History to review the status of past uploads:
- View the percentage of rows that succeeded
- See whether each upload succeeded or failed
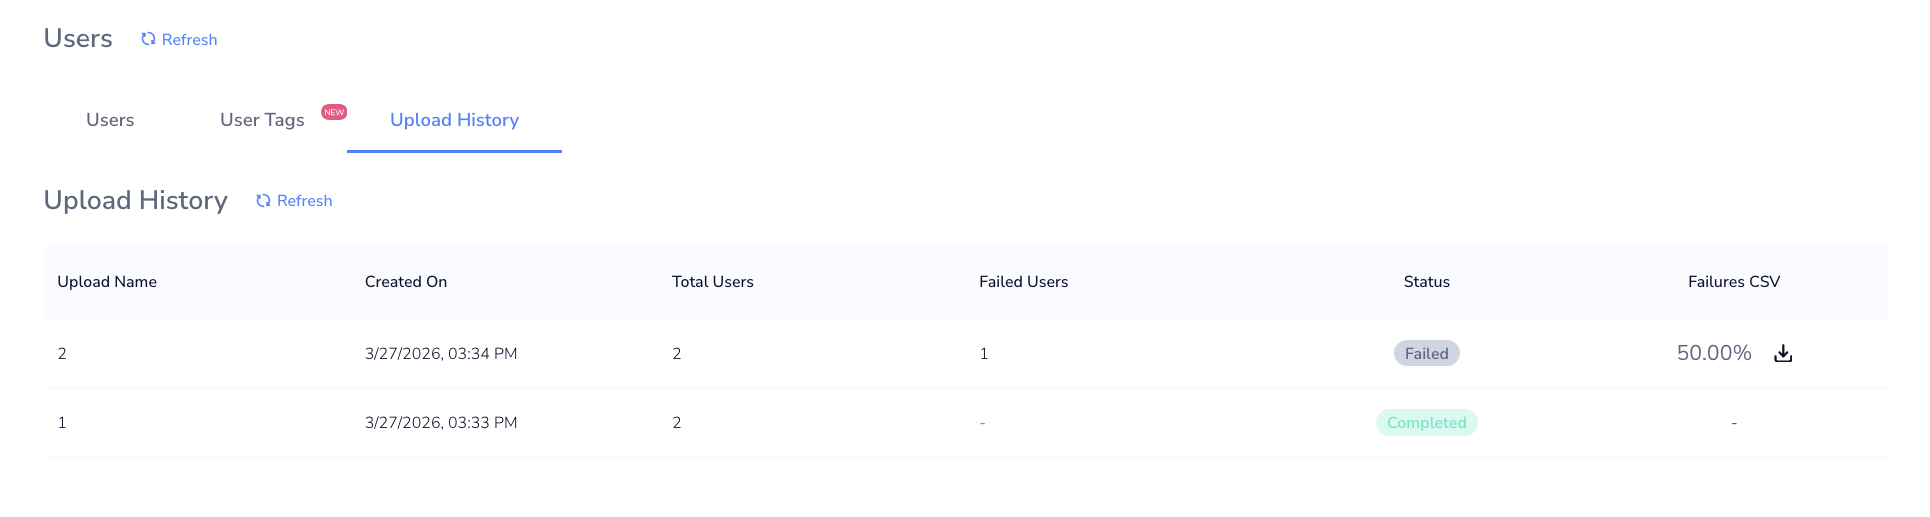
If an upload contains failures, you can download a CSV of the failed rows. The file will be named using the format {application_id}_{timestamp}_user_tags_failures (e.g., 3wot5e7yehvqayr2rgc2fi_1774650877951_user_tags_failures), where the timestamp is in epoch milliseconds. The file will include four columns:
Row Index: the row's position in the original upload.User ID: the patron's User ID.User Tags: the User Tags that failed to be assigned.Error Response: the reason the assignment failed for that user tag(s).
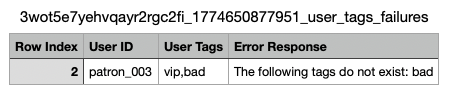
Note: User Tag assignments within a row are processed individually. For example, if 2 out of 3 User Tags in a row are assigned successfully, only the failed tag will appear in the error CSV. You will only need to resubmit for that single tag.
Updated 3 months ago